98 articles

Last night’s dinner: oven-braised beef with tomatoes and garlic

Gourmet's oven braised beef  via smitten kitchen

They call it oven-braised beef. I call it pot roast, though I’m thinking of changing up as the former sounds considerately more elaborate than the latter…

I had this idea of doing a regular recipe column on this blog… I thought Thursdays would be good as Wednesday is the one day my daughter is occupied till 5:30, giving me a bit more time to shop, cook and photograph. Turns out, doing anything on a regular basis is much harder than I figured. Life manages to get in the way more than I care to admit (what? mid-winter break? in-laws in town? kid out sick for THREE DAYS STRAIGHT?) Plus sometimes I get so excited to eat that I forget to photograph the finished product, which is super annoying.

But I refuse to give up. And so here, on a Friday, is the next installment of the Thursday food post. About a pot roast I made over a week ago, featuring a photograph of the lunch time leftovers I had 2 days after I cooked it in the first place.

I found the instructions on Smitten Kitchen, but she got it from a 2001 issue of Gourmet Magazine (may it rest in piece). The appeal is that it is super simple, with just meat, a can of tomatoes and garlic. You tie up the beef, chop up the tomatoes and garlic, dump them on the beef, and cook it.

tied roast

OK so maybe I’m not the best at tying up a roast. But hey, at least I’m trying.

Deb used a 3 1/2 lb roast and cooked it at 300 for 3 – 4 hours. I used a piece half the size and cooked it for around an hour and a half till my thermometer read 135 degrees for medium rare. I also couldn’t help myself and added an onion (peeled and quartered) as well as some thyme and a good pour of red wine. Also, Gourmet says to buy meat from the supermarket because it’s fatty, which is evidently what you want. I stand with Deb Parker on this one and went to my local butcher (The Meat Hook, which rocks) and bought me a high quality, grass-fed, free-range cut, but just asked them to leave the fat on. And it was delicious, let me tell you.

As long as you like beef and tomatoes, you won’t be sorry you made this dish. And the leftovers are even better than the first night’s version, if you ask me, so a generously size piece of meat is not a bad thing.

You can cook from the original Gourmet recipe, or enjoy Smitten Kitchen aka Deb Parker’s snappy prose and extensive photos. Or just scroll down as I’ve reprinted the whole shebang below: — Read more

Last night’s dinner: Jesse’s splayed chicken

melissa clark roast chicken by jesse peretz

These are the delicious perfectly roasted chickens my friend Jesse made for us recently. They look kind of obscene, but man were they good…

Ok so this isn’t technically last night’s dinner. That particular masterpiece is going to have to wait because I forgot to take a picture of the pot roast as it emerged from the oven. But a lovely plate of lunchtime leftovers makes an equally good (and more attractively lit) photo, so you’ll have your pot roast recipe before long,

In the meantime, I give you my friend Jesse’s take on Melissa Clark’s Splayed Roast Chicken recipe for the New York Times. You just need to pre-heat the bejesus out of a cast iron pan, cut the skin and splay open the legs of the chicken so that the thighs press against the sides of the pan, and abracadabra, you have have an exquisitely cooked 4 1/2 pound chicken in 45 minutes. Suddenly, roast chicken becomes a perfectly feasible weeknight meal.

Melissa Clark’s recipe calls for ramps, Jesse skipped that and used some scallions instead. Ramp season is right around the corner, though, so maybe we’ll have ramps the next time we make this… He also rubbed the chicken down with olive oil, salt and rosemary earlier in the day and left them in the fridge to soak up the goodness.

The chickens were perfect. The crowd went wild. Another culinary victory for my friend Jesse Peretz, the consummate host and server up of some of the best dinners around.

Read on to get the complete original version of the recipe — Read more

Last night’s dinner: White Beans and Wilted Greens Stew

Bon Appetit white bean and greens stew

This white bean and wilted greens stew is a good solution for the wintertime blues.

I have stew on the brain, and what with this endless winter we seem to be having here in the northeastern United States, I’m sure I’m not the only one. I’m even seriously considering getting a slow cooker and becoming one of those smug home cooks who just throws a few things into the pot on my way to work (singing all the while, I’m sure) and then returning with wine bottle in hand, when day is done, to some kind of slow-cooked masterpiece.

But I have yet to take the plunge. Plus I work from home.

Instead, I cook stew the regular-people way. And while I love myself some hearty beef stew on a cold winter’s night, I also have been trying to lighten up on the red meat consumption. Which is why this white bean stew from Bon Appétit seemed so appealing. Plus it so happens that I have an excess of white lima beans (also known as butter beans) from an over exuberant shopping spree at the health food store a few months back.

Now dried beans do require overnight soaking, but if you put them in water the minute you wake up (6 am, in my case) they are good to go by around 1 or 2, so you could easily be eating dinner at 7 pm. I actually soaked the beans all day, cooked the stew in the background during the evening while we ate something else, stuck it in the fridge before bed and let it get all nice and flavorful and ready to eat the following evening.

I also skipped the dried chilli flakes, in deference to my daughter, who can’t deal with pepper of any kind. But I did include the anchovies which I think really deepen the flavor without you even being aware of them once the stew is finished. The recipe also claims that the Parmesan rind is optional, and maybe it is, but boy will you be missing out if you skip it.

Click below to see the whole recipe, and be sure you make enough for leftovers as it makes a most satisfying snowy day lunch as well…

— Read more

A post about cooking in which I complain about my latest mothering chore of packing lunch for my child

pot stickers

Here they are… our first batch of dumplings. Pot stickers, to be specific, but who is really that specific when dealing with second graders’ lunches?

The party’s over.

Or at least the my-kid’s-school-has-a-lunch-program-so-I-don’t-have-to-deal-with-packing-a-daily-lunchbox party is over. She just wasn’t eating the food, and I was forced to admit that a rice cake and some juice that she was given as a substitute does not a nutritious meal make. If I want to help that little brain to grow, I’m going to have to suck it up and make her lunch. Every day.

What a nightmare.

Or at least, at first it seemed like a nightmare. But once I realized that she can heat up her food (do I have the only child on earth that doesn’t really like sandwiches?) I decided to take this as an opportunity, rather than just a burden. At the very least I finally have something to do with all of the slightly less than full portion leftovers I have from dinners past.

But sometimes there aren’t any leftovers. For those days, if you’ve planned ahead (a new skill I am developing in spades in 2015) there are dumplings. Which you have made in bulk with your kid (fun activity!) and stored in the freezer in single serving size packs for just such a moment.

Here’s the scenario. You put your little angel to bed, you then open the fridge to see what you’re going to cobble together for lunch the next day. Nothing appropriate. It’s freezing outside, so running to the deli is not an attractive option. You then remember the dumplings in the freezer. You jump for joy (but only internally… on the exterior you remain all calm like “of course this what was I was planning all along”) and take one of your little pot sticker packets out of the freezer and stick it in the fridge. Cook ‘em up the next morning (which takes all of 5 minutes) and you’re good to go.

And lest you think that there is no way you could possibly manage to create something so exotic and complex, let me be the one to inform you that the most difficult part of this operation is finding the dumpling wrappers (which these days can be found in any grocery store with an Asian section.) And that isn’t all that hard, is it?

We used Mark Bittman’s super simple recipe 10 days ago and had a blast making 48 little suckers. We still have one or two lunches left in the freezer too! Here’s how we did it:

First we get the ground pork (but you can use any kind of ground meat, or even make a veggie version with cabbage, shiitake mushrooms and carrots) mix it with cabbage, scallions, ginger, garlic and a bit of soy sauce.

making pot stickers

Then we place a spoonful onto the dumpling wrapper.

making pot stickers

After we rub a tiny bit of beaten egg around the edges to act as glue, we carefully fold them in half, pressing the edges together…

cooking pot stickers

And then they are ready to cook! The cooking is a 3 step process, but super quick. See the esteemed Mr Bittman’s recipe below for the exact methodology and then hop to it!

Ingredients

¾ pound ground pork or other meat
1 cup minced cabbage
2 tablespoons minced ginger
1 tablespoons minced garlic
6 scallions, the white and green parts separated, both minced
½ cup plus 2 tablespoons good soy sauce
48 dumpling wrappers
1 egg, lightly beaten in a bowl
4 tablespoons peanut oil or vegetable oil, more or less
¼ cup rice vinegar or white vinegar

Preparation

Combine meat, cabbage, ginger, garlic, scallion whites and 2 tablespoons soy sauce in a bowl with 1/4 cup water. Lay a wrapper on a clean, dry surface, and using your finger or a brush, spread a bit of egg along half of its circumference. Place a rounded teaspoon of filling in center, fold over and seal by pinching edges together. (Do not overfill.) Place dumplings on a plate; if you want to wait a few hours before cooking, cover plate with plastic wrap and refrigerate. Or freeze, for up to two weeks.

To cook, put about 2 tablespoons oil in a large nonstick skillet and turn heat to medium-high. A minute later, add dumplings, one at a time; they can touch one another, but should still sit flat in one layer. Cook about 2 minutes, or until bottoms are lightly browned. Add 1/4 cup water per dozen dumplings to pan, and cover. Lower heat to medium, and let simmer about 3 minutes.

To make the dipping sauce, combine remaining soy sauce, green parts of scallions and vinegar.

Uncover dumplings, return heat to medium-high and cook another minute or two, until bottoms are dark brown and crisp and water evaporates. (Use more oil if necessary.) Serve hot, with sauce.

Making lemon bars from scratch is hard (but worth it)

ny times lemon bars

Here are our far-from-perfect-but-nonetheless-delicious lemon bars, ready to be packed off to school and sold at the bake sale, because such is my life.

I promise that the next time I go to Bakeri I will not complain (even to myself, in secret) about the cost of their tiny and delicious lemon squares. Because they are not easy-peasy to create, like baking brownies for example. One actually needs some skill and mental confidence to pull these babies off.

That said, my daughter and I had a marathon baking session last night in order to make the aforementioned pastries for her school bake sale. The proceeds go to the scholarship fund, so the hard work was worth it, even though I secretly wanted to give up several times along the way.

But I was, as usual, playing the role of responsible, all-knowing, nothing-can-stop-us mom, so I zested the hell out of those lemons (a HUGE pain… if anybody knows a short-cut way to create zest, let him come forward), and patiently let my seven year old measure out flour and corn starch and cut frozen butter into cubes and whisk the lemon mixture on the stovetop until it transformed itself into curd.

And then I removed the pan from the oven every three minutes or so, shaking it to see whether or not it had “set” properly. It never did completely solidify, but I finally took it out of the oven when the center was very very slow to move when I tilted the pan. I then left it to cool down to room temperature, slept for 90 minutes, woke up (at 1:30 am, like a crazy person) and put the pan in the fridge to cool for the rest of the night.

This morning, solid-ass lemon squares were my reward. Ready to be cut, sprinkled with powdered sugar, and sent off to school to be purchased by other members of my kid’s school community. Hallelujah.

We sold them all, which is was very gratifying.

Here is the recipe we followed, from the esteemed Melissa Clark at the New York Times. We used a 9 x 13 inch pan, so we increased the ingredients by 50% and cooked the curd/crust combo for about 30 minutes:

Lemon Bars with Olive Oil and Sea Salt

Ingredients:

FOR THE CRUST:
1 1⁄4 cups/155 grams all-purpose flour
1⁄4 cup/50 grams granulated sugar
3 tablespoons/25 grams confectioners’ sugar, plus more for sprinkling
1 teaspoon finely grated lemon zest
1⁄4 teaspoon fine sea salt 10 tablespoons/142 grams
unsalted butter

FOR THE CURD:
4 to 6 lemons
1 1⁄2 cups/300 grams sugar
2 large eggs plus 3 yolks
1 1⁄2 teaspoons/5 grams cornstarch
Pinch of fine sea salt
4 tablespoons/57 grams cold butter, cut into cubes
1⁄4 cup/60 milliliters fruity extra- virgin olive oil
Confectioners’ sugar Flaky sea salt, for sprinkling

1. Heat oven to 325 degrees and line a 9-by-9-inch baking pan with enough parchment to hang over two of the sides (to be used as handles later to lift the bars out of the pan).

2. To make the shortbread base, pulse together the flour, granulated sugar, confectioners’ sugar, lemon zest and salt in a food processor, or whisk together in a large bowl. Add butter and pulse (or use two knives or your fingers) to cut the butter into the flour until a crumbly dough forms. Press dough into prepared pan and bake until shortbread is pale golden all over, 30 to 35 minutes.

3. While the shortbread is baking, prepare the lemon curd: Grate 1/2 tablespoon zest from lemons and set aside. Squeeze lemons to yield 3/4 cup juice.

4. In a small saucepan, whisk together lemon juice, sugar, eggs and yolks, cornstarch and fine sea salt over medium heat until boiling and thickened, 2 to 5 minutes. Make sure mixture comes to a boil or the cornstarch won’t activate. But once it boils do not cook for longer than 1 minute or you risk the curd thinning out again. Remove from heat and strain into a bowl. Whisk in butter, olive oil and lemon zest.

5. When the shortbread is ready, take it out of the oven and carefully pour the lemon curd onto the shortbread base; return the pan to the oven. Bake until topping is just set, 10 to 15 minutes more. Allow to cool to room temperature, then refrigerate until cold before cutting into bars. Sprinkle with confectioners’ sugar and flaky sea salt right before serving.

How to not be furious about the fact that it is still freezing out

maple taffy production

The various stages of maple taffy production, clockwise from top left: 1) a plate of snow. 2) the maple syrup, just as it reaches the perfect stage of foaminess (is that a word?) and is ready to be poured. 3) If it gets this dark, it’s pretty much burnt and you should quickly turn off the burner and start again. We weren’t fast enough, and much smoke and sadness ensued. 4) the final result– delectable drops of sweetness (a little blurry, but you get the idea!)

Back in the olden days, when the world was much simpler and Michael Landon was everyone’s favorite dad, winter was a glorious time full of sleigh rides through the big woods to your grandparents’ house where folks would gather to sing, dance, and eat to celebrate the latest maple harvest.

No matter how many times we listen to Cherry Jones reading Little House In The Big Woods (and believe me, we have listened to it many many times…) we can’t bring the good old days back. But we can still make maple candy. And somehow, when you make your own candy, it is a thousand times more delicious than any store bought variety they’re pushing at the corner deli.

All you need is some maple syrup and some snow (I scooped up a jarful during our most recent storm and saved it in the freezer) and you’re good to go.

We started with a small plateful of snow… say about 2 cups full… and a half cup of maple syrup which makes just enough little taffy drops for one hungry kid and her mom to satisfy their sweet teeth for the evening.

Heat the syrup till it’s boiling, and then turn the heat down a bit so it holds steady. Then you basically watch and wait. When the syrup gets all foamy looking (smallish uniform bubbles– see top right photo above) it’s ready to go. This doesn’t take long (maybe 5 minutes or so) and it happens quickly, so you really have to keep your eyes on the pan. Waiting too long (like we did the first time round) will leave you with a horrible black nearly solid mass to scrape off of your pan.

Take the syrup out to your plate of snow and pour it slowly over, in swirls, dots, or whatever suits your fancy… being careful not to overlap too much as you’ll melt the snow before it has a chance to do it’s job. The syrup hardens quickly and in a minute or so is ready to peel off the plate and enjoy.

Just like Laura Ingalls and her cousins.

There are other, more scientific methods for making this stuff that involve candy thermometers, but I prefer doing it by eye. It somehow feels more satisfying, plus you’ve got one less thing to wash in the end.

Last night’s dinner: Craig Claiborne’s beef stew

craig claiborne beef stew

To be honest, this is not a picture of the dinner version of this dish, which was served on a bed of lovely brown organic rice and had parsley garnishes for a bit of color. Nope, you guys get the quick leftover before-school-pick-up lunch version. But let me tell you, it was even more delicious today than it was before…

Why I find it necessary to mention the fact that this beef stew comes to us via the late great Craig Claiborne, I don’t really know. Maybe it’s because, as a kid growing up in a household that read the New York Times religiously, he was the first real food writer that I was aware of. (Well, besides Julia Child who came into our hearts via Dan Akroyd’s brilliant Saturday Night Live impersonations). Or maybe it’s just because “beef stew” sounds kind of pedestrian and lame, but “Craig Claiborne’s beef stew” suddenly feels more debonair.

Whatever the reason, this dish is stupendous. And the perfect thing to serve these days, now that the weather has suddenly switched from Indian Summer to Arctic Vortex overnight.

I started preparing it early in the am, left the stew to simmer for a nice long time and then actually left the entire pot just to sit for a few hours before it was time to reheat and eat. As with all stews, this one improves with age, and I am really looking forward to the late lunch of leftovers that I’m about to sink into now.

Details are below, or you can go to the ever-awesome NY Times Cooking site, for the full monty with photos, links to similar recipes, etc…

Craig Claibporne’s Beef Stew

Ingredients

4 pounds lean, boneless chuck steak
¼ cup olive oil
Salt and freshly ground pepper to taste
1 tablespoon finely chopped garlic
2 cups coarsely chopped onions
6 tablespoons flour
4 cups dry red wine
2 cups water
4 whole cloves
1 bay leaf
½ teaspoon thyme
6 sprigs parsley, tied in a bundle
6 large carrots, about 1 1/2 pounds, trimmed and scraped

Preparation

Cut the meat into two-inch cubes.
Using a large skillet, heat the oil and add the beef cubes in one layer. Add salt and pepper and cook, stirring and turning the pieces often, for about 10 minutes.
Add the garlic and onions and cook, stirring occasionally, for another 10 minutes. Sprinkle with flour and stir to coat the meat evenly.
Add the wine and stir until the mixture boils and thickens. Stir in the water. Add the cloves, bay leaf, thyme and parsley. Cover closely and simmer for one hour.
Meanwhile, cut the carrots into one-inch lengths. If the pieces are very large, cut them in half lengthwise. Add them to the beef. Cover and continue cooking for 30 minutes, or until the carrots are tender. Serve the stew sprinkled with chopped parsley.

Monday, Monday (the Election Day edition) or a few links that have nothing to do with voting…

grüner veltliner called H&M Hofer.

This is a lovely but illegible photo of the bottle of wine we drank last night with dinner. It was delicious, and should you wish to check it out yourself, it’s a Grüner Veltliner called H&M Hofer.

Last night, we had some friends over for dinner. I am sick of the logistics of going out to dinner, finding sitters, debating the merits of driving vs. taxi vs. subway and then freaking out (for no reason, mind you) about parking, etc etc. Lets just have them come over, I say to my husband. It’ll be so much easier.

Unless your name is Brooke Williams, which is, unfortunately, my current situation.

So instead of planning way ahead, buying food in advance, maybe even cooking something that involves short prep time and isn’t too complex, and outsourcing some of the meal (you guys bring desert!) I basically worked from 6 am to 6 pm straight to make it happen. Not, mind you, because I chose to do/make anything really complicated, but because my name (as mentioned before) is Brooke Williams, and I have a rare gift for figuring out how to make even the simplest tasks exceedingly time consuming.

So today’s links are all about the construction of yesterday’s meal. Please enjoy and rest easy in the knowledge that, if I had it to do over again, I would in an instant. We had a great time and it was worth every minute of preparation.

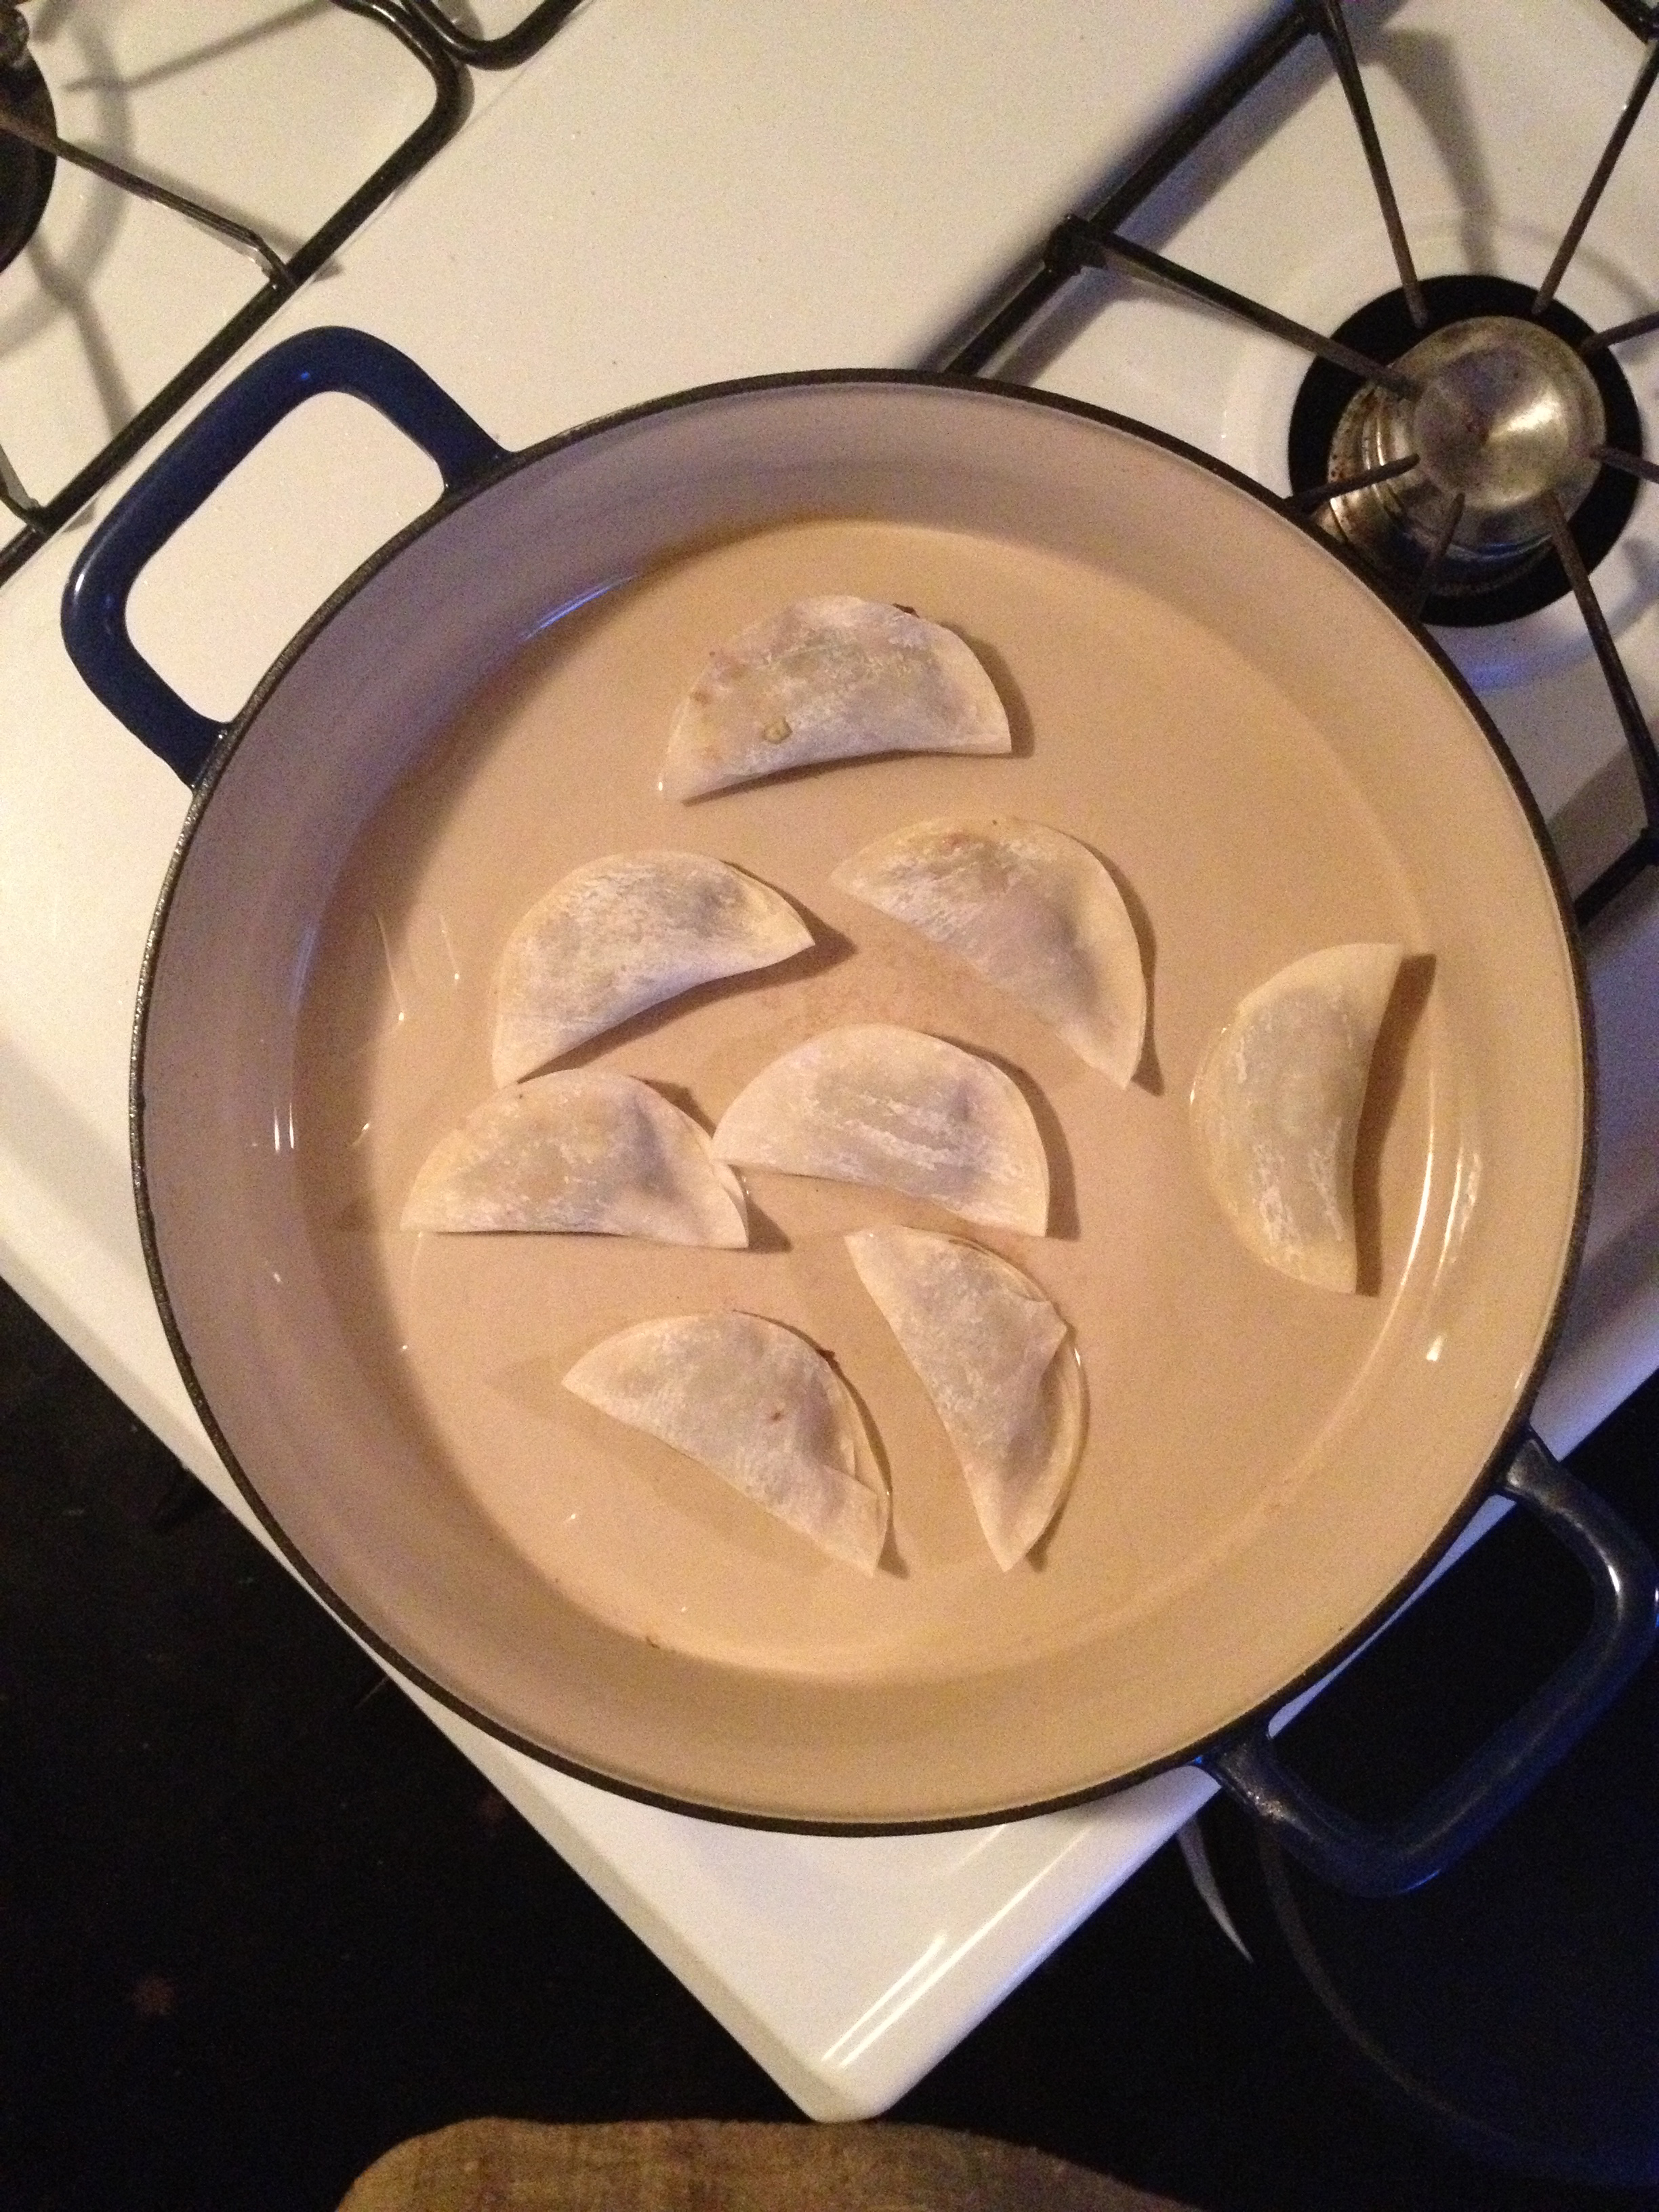
So I rise at 6 am, in order to get the Long Island cheese pumpkin (that we picked a couple of weeks ago at our favorite pumpkin spot in Bridgehampton) into the oven. Because we are making pumpkin pie and GOD FORBID we use canned pumpkin. (Did I mention what my name was?) And it’s not just any pumpkin pie, this one is from Florence Fabricant via the NY Times and has applesauce in it. Which means we get to use the sauce my father made from the apples that my daughter and I picked from the tree in my parents’ backyard. This is insanely satisfying and makes the whole thing worth it.

Kid gets dropped off at school, pumpkin comes out of the oven, scooped out and placed in a strainer for 2 hours to drain out the excess water. I followed this recipe for the roast pumpkin, but turned elsewhere when it came to the actual pie, because who can compete with Florence Fabricant, when it comes to these kinds of things?

I then look around and realize that the house is a bit of a mess, and that cleaning up is gonna involve vacuuming. So off I go!

Next stop is Union Square, where I get to take advantage of the Greenmarket, and Whole Foods at once. I am, of course, overwhelmed by the choices of sweet potatoes and spend far too long trying to decide which type to get. Oh if only I’d had the Saveur Guide to Sweet Potatoes with me… Luckily, you can’t really lose in this dept. I went with the sweet and nutty Japanese variety.

Then into Whole Foods, which for some reason was INSANELY CROWDED for a Monday late morning. I might have made up for the excess time I spent outside thinking about sweet potatoes but for two elusive products. One was evaporated milk (for the pie) which I don’t think I’ve ever even thought about before, much less bought. It took me ages to finally find the cans, which live way down on a lower shelf in the baking area, in case you were wondering.

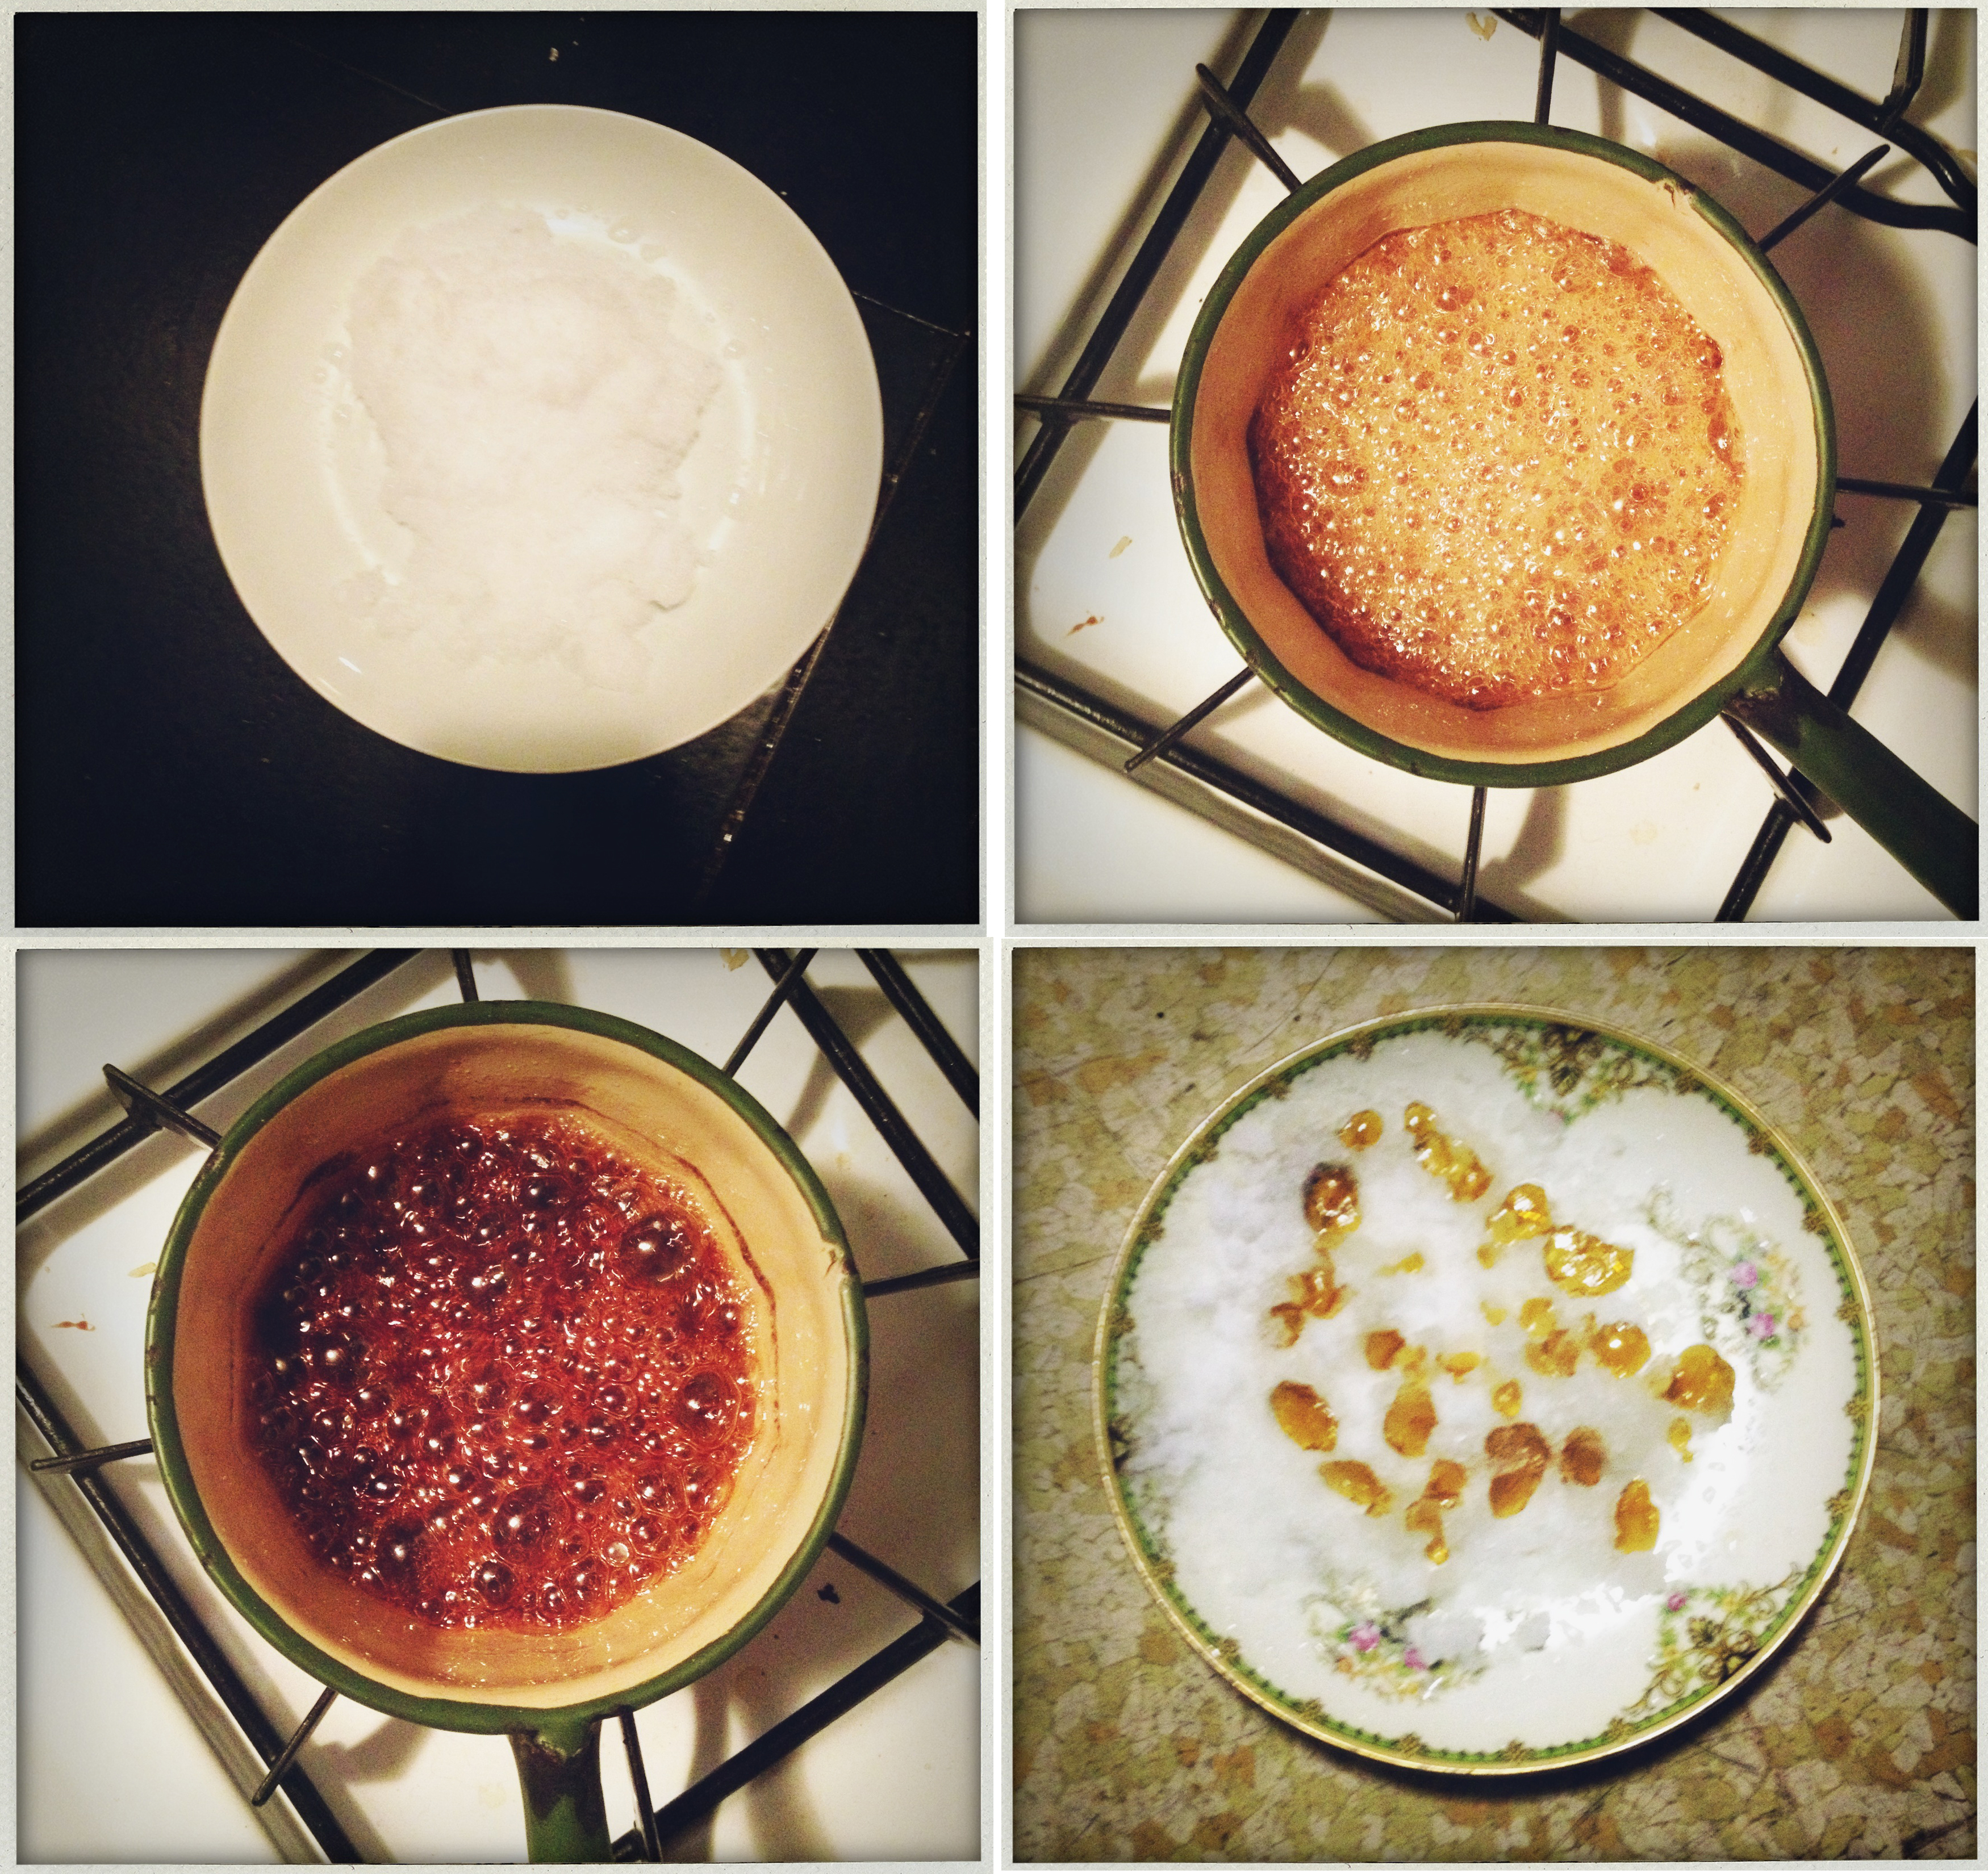
The other was pomegranate molasses, which I needed to dress my kale salad. I saw the recipe on Bon Apétit and was determined to make it happen. Despite being listed in the Whole Foods website, there was none of the evidently-common-in-the-middle-east-but-I’ve-never-heard-of-it-before sweetener in the store. A desperate web search on my phone uncovers the fact that I can make it myself. Problem solved. All I need is some juice, sugar, lemon and 70 minutes on the stove.

Ok so now we rush home (clock is ticking!) make the molasses, stick the butter in the freezer so it stays nice and cold for the crust and then go pick up my daughter from school.

We get home, after stopping by Bakeri on Wythe, which makes, hands down, the best baguettes in this neck of the woods, if not the entire city.

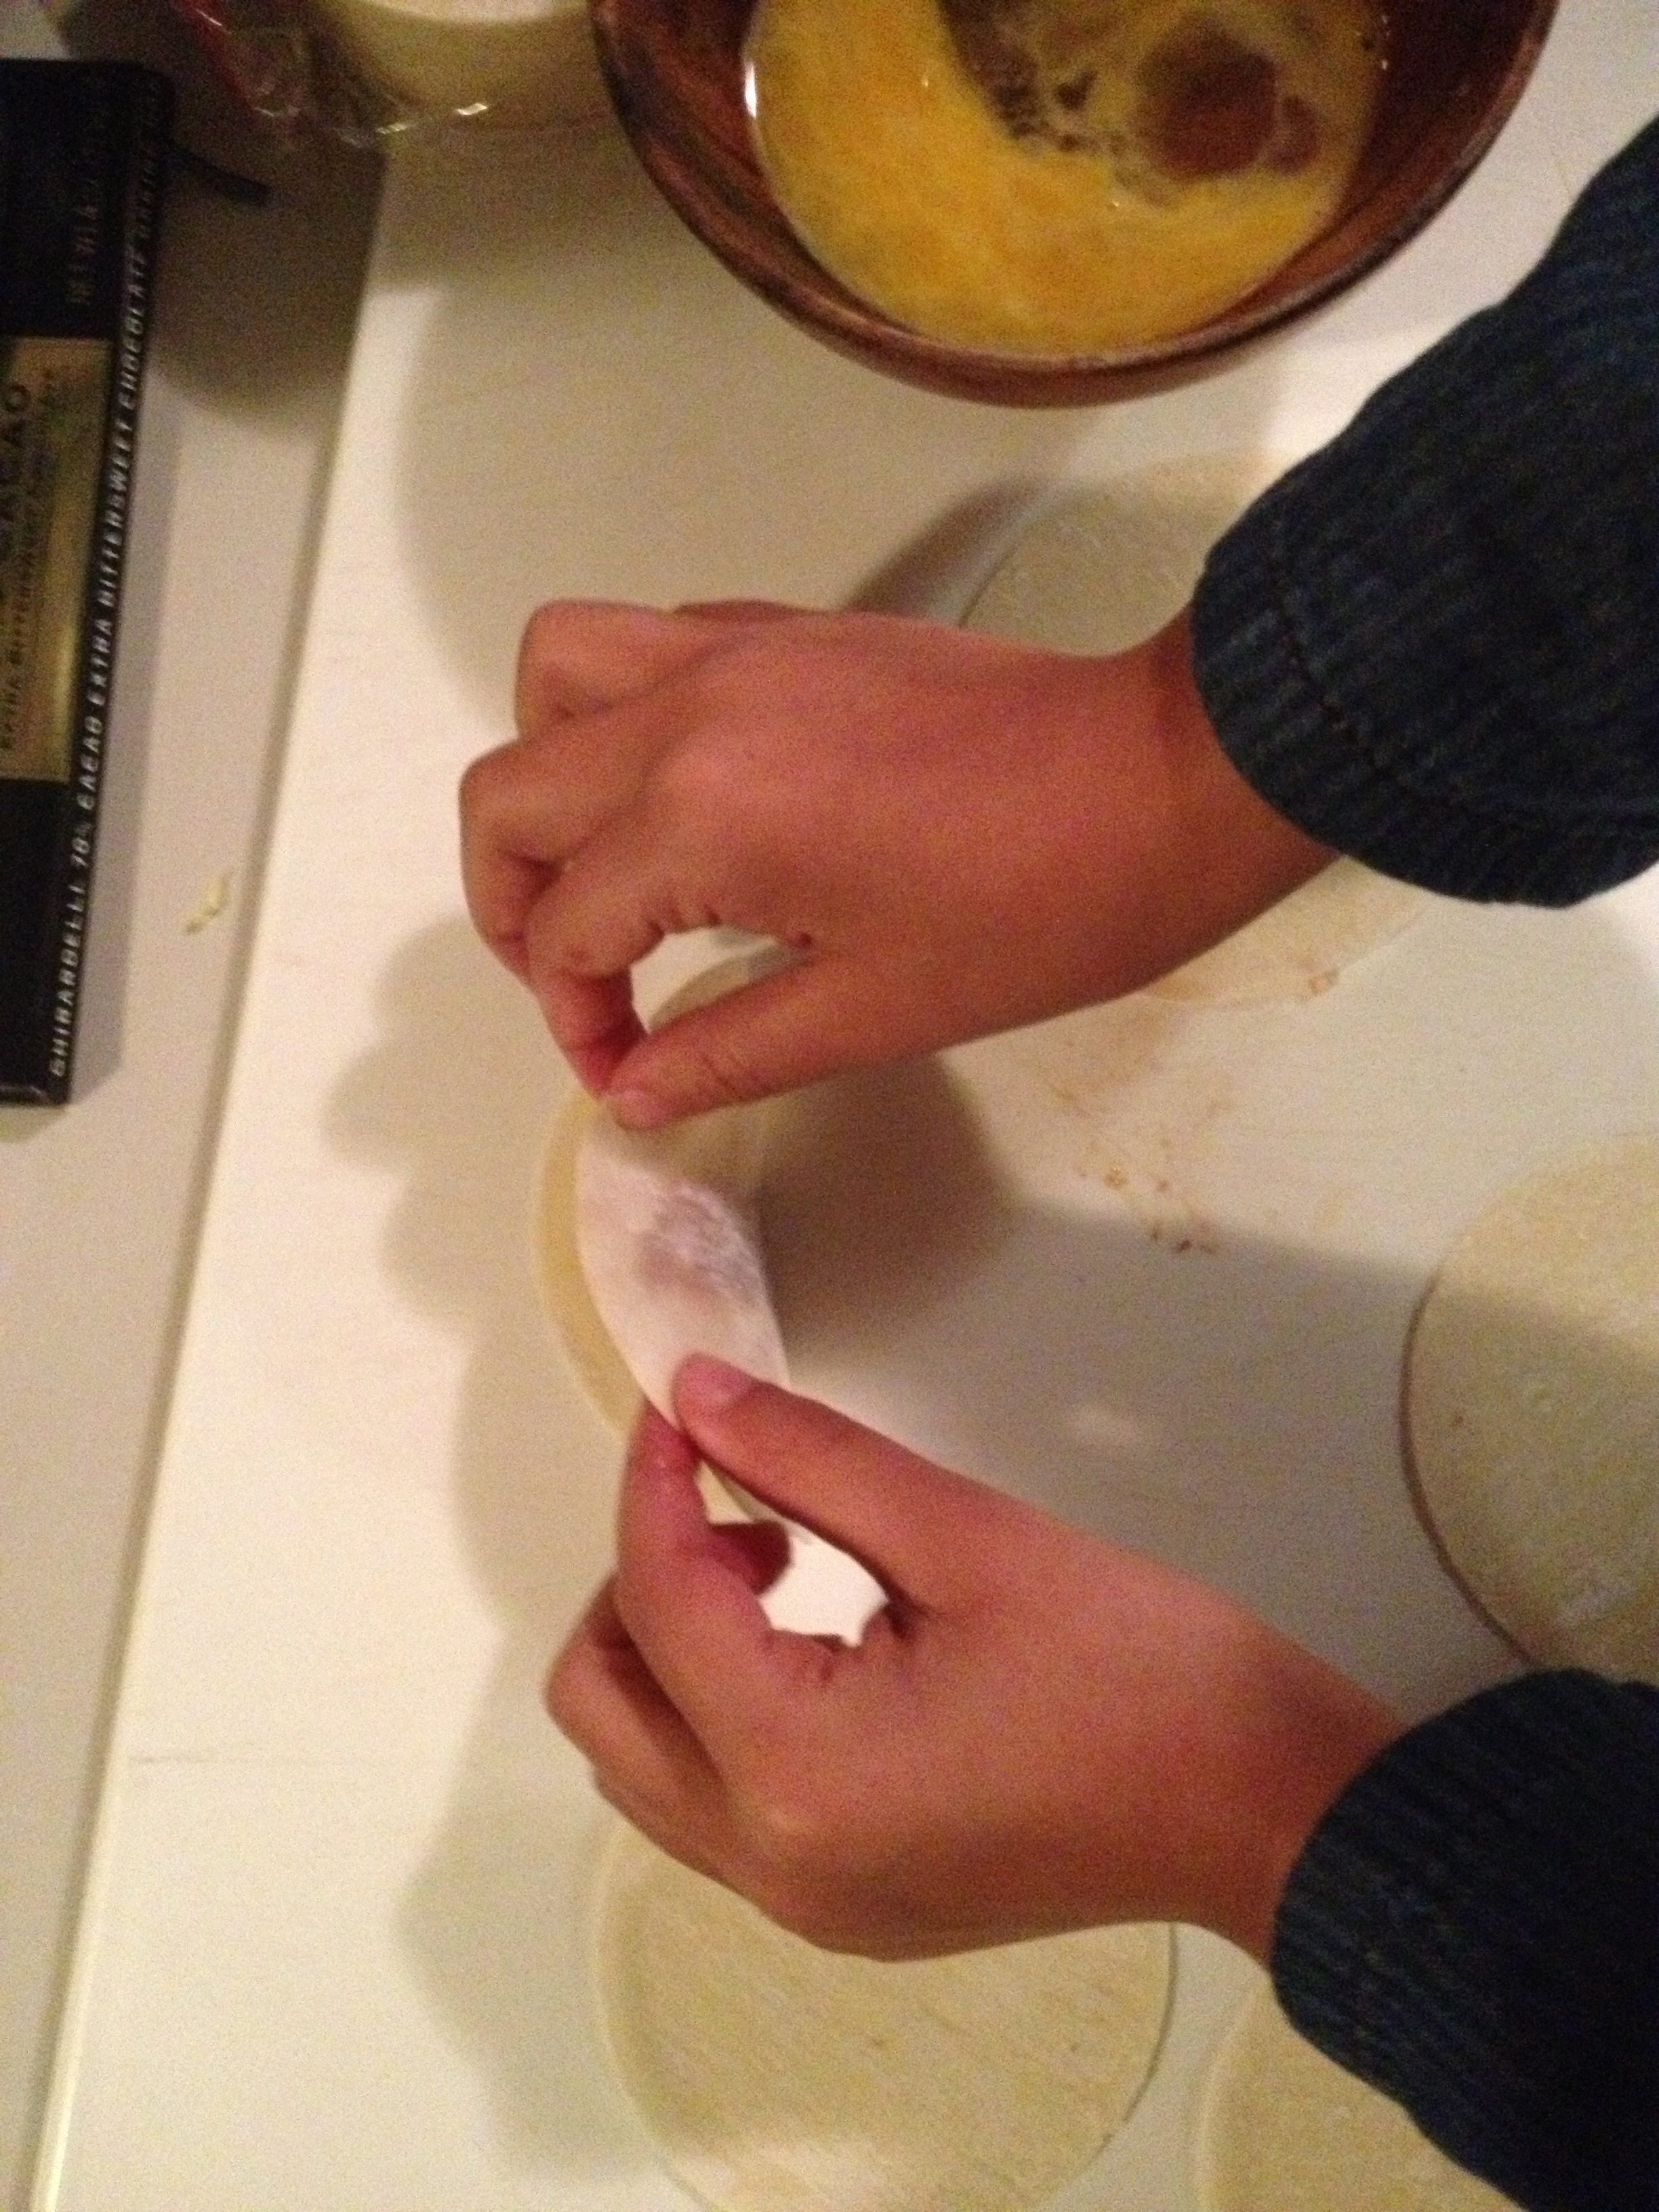
Next we make the crust for the pie (which is gonna need to sit in the fridge for at least an hour before we roll it out). This recipe comes from the indomitable Deb Perelman of Smitten Kitchen, whose crust has no equal, as far as I’m concerned. We cheated and used a food processor (much to my daughter’s dismay) but only because we don’t own a pastry blender and there wasn’t time to go buy one. The clock was ticking.

By the way, doing any cooking with a kid under the age of 10 or so is going to take you twice as long. Just keep that in mind.

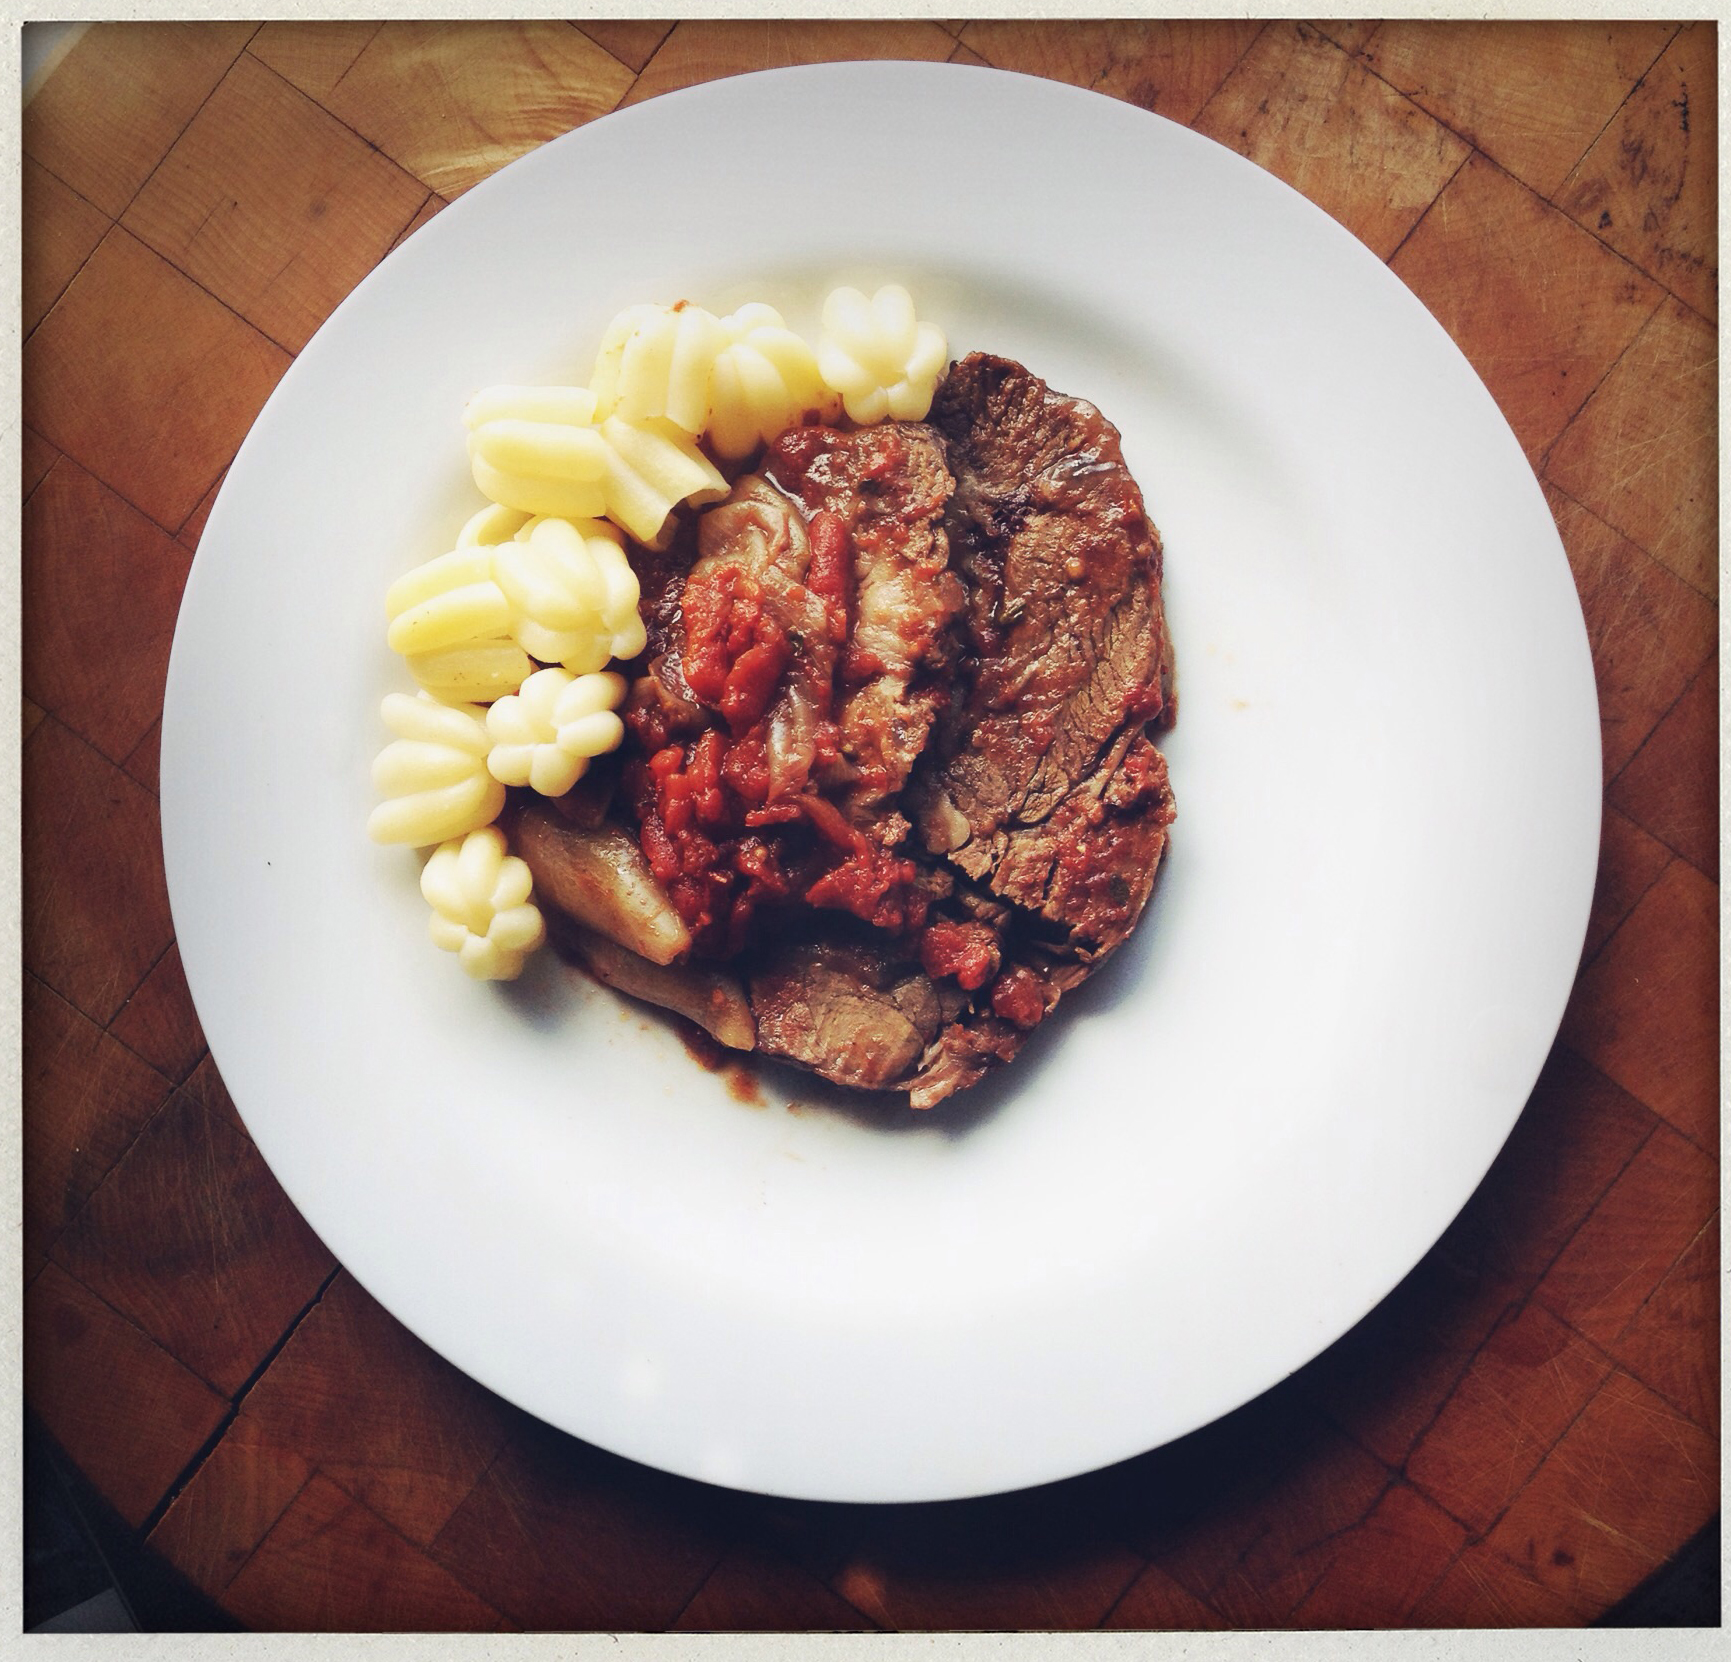
Dinner centered around a roast chicken, and I’d been given very precise directions by my best-cook-ever husband, which I chose to ignore, because my name is Brooke Williams. Instead, I panicked, searched online and came up with this version of the “perfect roast chicken” from the good people over at the Kitchn (aka Apt Therapy’s cooking site). Chicken goes into the oven, along with the peeled and cut potatoes and we’re off to the races!

Then we mix up the filling for the pumpkin pie, realize we don’t have ground cloves (text husband who is on his way home at this point), take the chicken out, panic internally about whether it is done while maintaining an outwardly calm exterior, make salad, roll out the dough (a task completed entirely by my daughter, which makes me incredibly proud), receive guests and cloves, get pie in the oven, instruct husband to carve chicken, drink wine, sit down and have lovely dinner with friends.

Phew. Now you know why I didn’t get to posting yesterday…

Last night’s dinner: Parmesan Lamp Chops

My version of David Tanis' parmesan encrusted lamb chops.

My version of David Tanis’ parmesan encrusted lamb chops.

Today is Food Day here in NYC. Still devoting most of this week’s posts to the topic. Of food, that is. Still cooking all of this week’s dinners from the New York Times’ Cooking website. Still enjoying it very much. And still learning all sorts of things, not the least of which is that it really does pay off to plan ahead for meals.

I also learned, this week, that lamb chops are tiny. I am certain that I have been aware of this fact in the past, but I think it finally sunk in when I opened my box from Fresh Direct and discovered three tiny pieces of meat (for like, a million dollars, by the way). Luckily, my husband had a work dinner, so my daughter and I had a bit more to split between us.

Enter David Tanis’ Parmesan Lamb Chops. It’s a super easy recipe… you just dip the chops in cheese, egg, and bread crumbs (I’d forgotten to buy bread crumbs so I just crumbled up a piece of bread and had the brilliant realization that making one’s own bread crumbs is WAY easier than going out to the store to buy some) and then fry them up in some oil. Done.

We ate them with purple long beans sauteed in butter, and the traditional, almost daily romaine salad.

Delicious.

Here’s the recipe, or go to the site for a more multi-media type experience…

Ingredients

1 small rack of lamb, Frenched by a butcher, about 11/2 pounds, or 8 3-ounce rib chops
Salt and pepper
½ cup bread crumbs, preferably homemade
½ ounce grated Parmesan (about 1/2 cup)
½ teaspoon powdered fennel seed (use an electric spice mill or mortar and pestle)
1 teaspoon finely chopped rosemary
½ cup flour seasoned with 1/2 teaspoon salt, 1/4 teaspoon black pepper and a pinch cayenne
2 small eggs, lightly beaten
Olive oil for frying (or substitute clarified butter or vegetable oil)
Parsley sprigs for serving
Lemon wedges for serving

Preparation

With a sharp knife, cut between bones to divide the rack of lamb into 8 chops. Trim chops of any excess fat. Season with salt and pepper on both sides.
In a small bowl, mix together the bread crumbs, Parmesan, fennel seed and rosemary.
Dip each chop into the seasoned flour, then into the beaten eggs. Lay the chops on a baking sheet and sprinkle both sides of each liberally with the crumb mixture. Press any remaining mixture evenly over the chops to coat well.
In a wide skillet, pour the olive oil to a depth of 1/2 inch. Heat over a medium-high burner until the oil looks wavy. Add the chops without crowding. They should begin to sizzle, but not brown too quickly. Adjust the heat so they fry gently for about 21/2 minutes, until crisp and golden. Turn with tongs and fry on the other side for about 2 minutes. (The interiors should be pink and juicy, but not rare.) Blot on paper towels. Serve with parsley sprigs and lemon wedges.

Yum.

Last night’s dinner

A lovely photograph of Emily Weinstein's corn risotto by Melina Hammer

A lovely photograph of Emily Weinstein’s corn risotto by Melina Hammer for the New York Times.

This fall, I am planning on conquering my fear of cooking dinner. Sure, I consider myself a good cook, though I always need some kind of recipe, at least to start out with. I actually didn’t see this as a sign of my obvious inadequacy until I met my make-everything-up-from-scratch-and-it-is-always-delicious cook of a husband. I am still mildly jealous of his abilities, though I have learned to use them to my advantage by cajoling him into cooking as often as I can.

Which these days, what with his late hours and frequent travel, is not all that much. Still, beggars can’t be choosers, and I am determined to reinstate my kitchen confidence by hook or by crook. Especially as I find my problems to be more with organization and time management than with the actual food preparation.

(To be honest, I think the vast majority of my problems are rooted in time management and organizational issues, but I digress…)

So I’ve decided to try and narrow things down a bit, and to make a meal plan… at least till Friday. For starters, this week, all of our meals are coming from the new Cooking site from the NY Times. Which I do love, though at times it feels a bit overwhelming. So many choices (over 16,000!) where does one begin?

I started off the adventure with a celebration of corn, as this is probably the last week we’ll be able to get our hands on any fresh ears. Enter Emily Weinstein’s corn risotto which I prepared last night to rave reviews.

I made a few changes… my daughter hates pepper, so out it went (sob!) and I didn’t have time to make the corn stock, though I did scrape the juice from the corn cobs into the chicken stock I already had and then simmered the cobs with the broth to give it a bit of that flavor. I didn’t use wine, only because I forgot about buying some and was too lazy to go back outside, and I skipped the whipped cream part (also out of laziness). Next time I might do that last step as it does sound amazing.

But even with all of those simplifications and alterations, the dish was lovely. Light, sweet and a bit like a memory of a 9 pm sunset on a summer evening. A perfect way to say goodbye to one of my favorite foods. Today’s lunch will be a salad that includes the leftover kernels of corn (I bought one too many ears– I couldn’t help myself) and then it’s so long till next July.

I guess I’ll just have to drown my sorrows in fresh apples…