They call it oven-braised beef. I call it pot roast, though I’m thinking of changing up as the former sounds considerately more elaborate than the latter…
I had this idea of doing a regular recipe column on this blog… I thought Thursdays would be good as Wednesday is the one day my daughter is occupied till 5:30, giving me a bit more time to shop, cook and photograph. Turns out, doing anything on a regular basis is much harder than I figured. Life manages to get in the way more than I care to admit (what? mid-winter break? in-laws in town? kid out sick for THREE DAYS STRAIGHT?) Plus sometimes I get so excited to eat that I forget to photograph the finished product, which is super annoying.
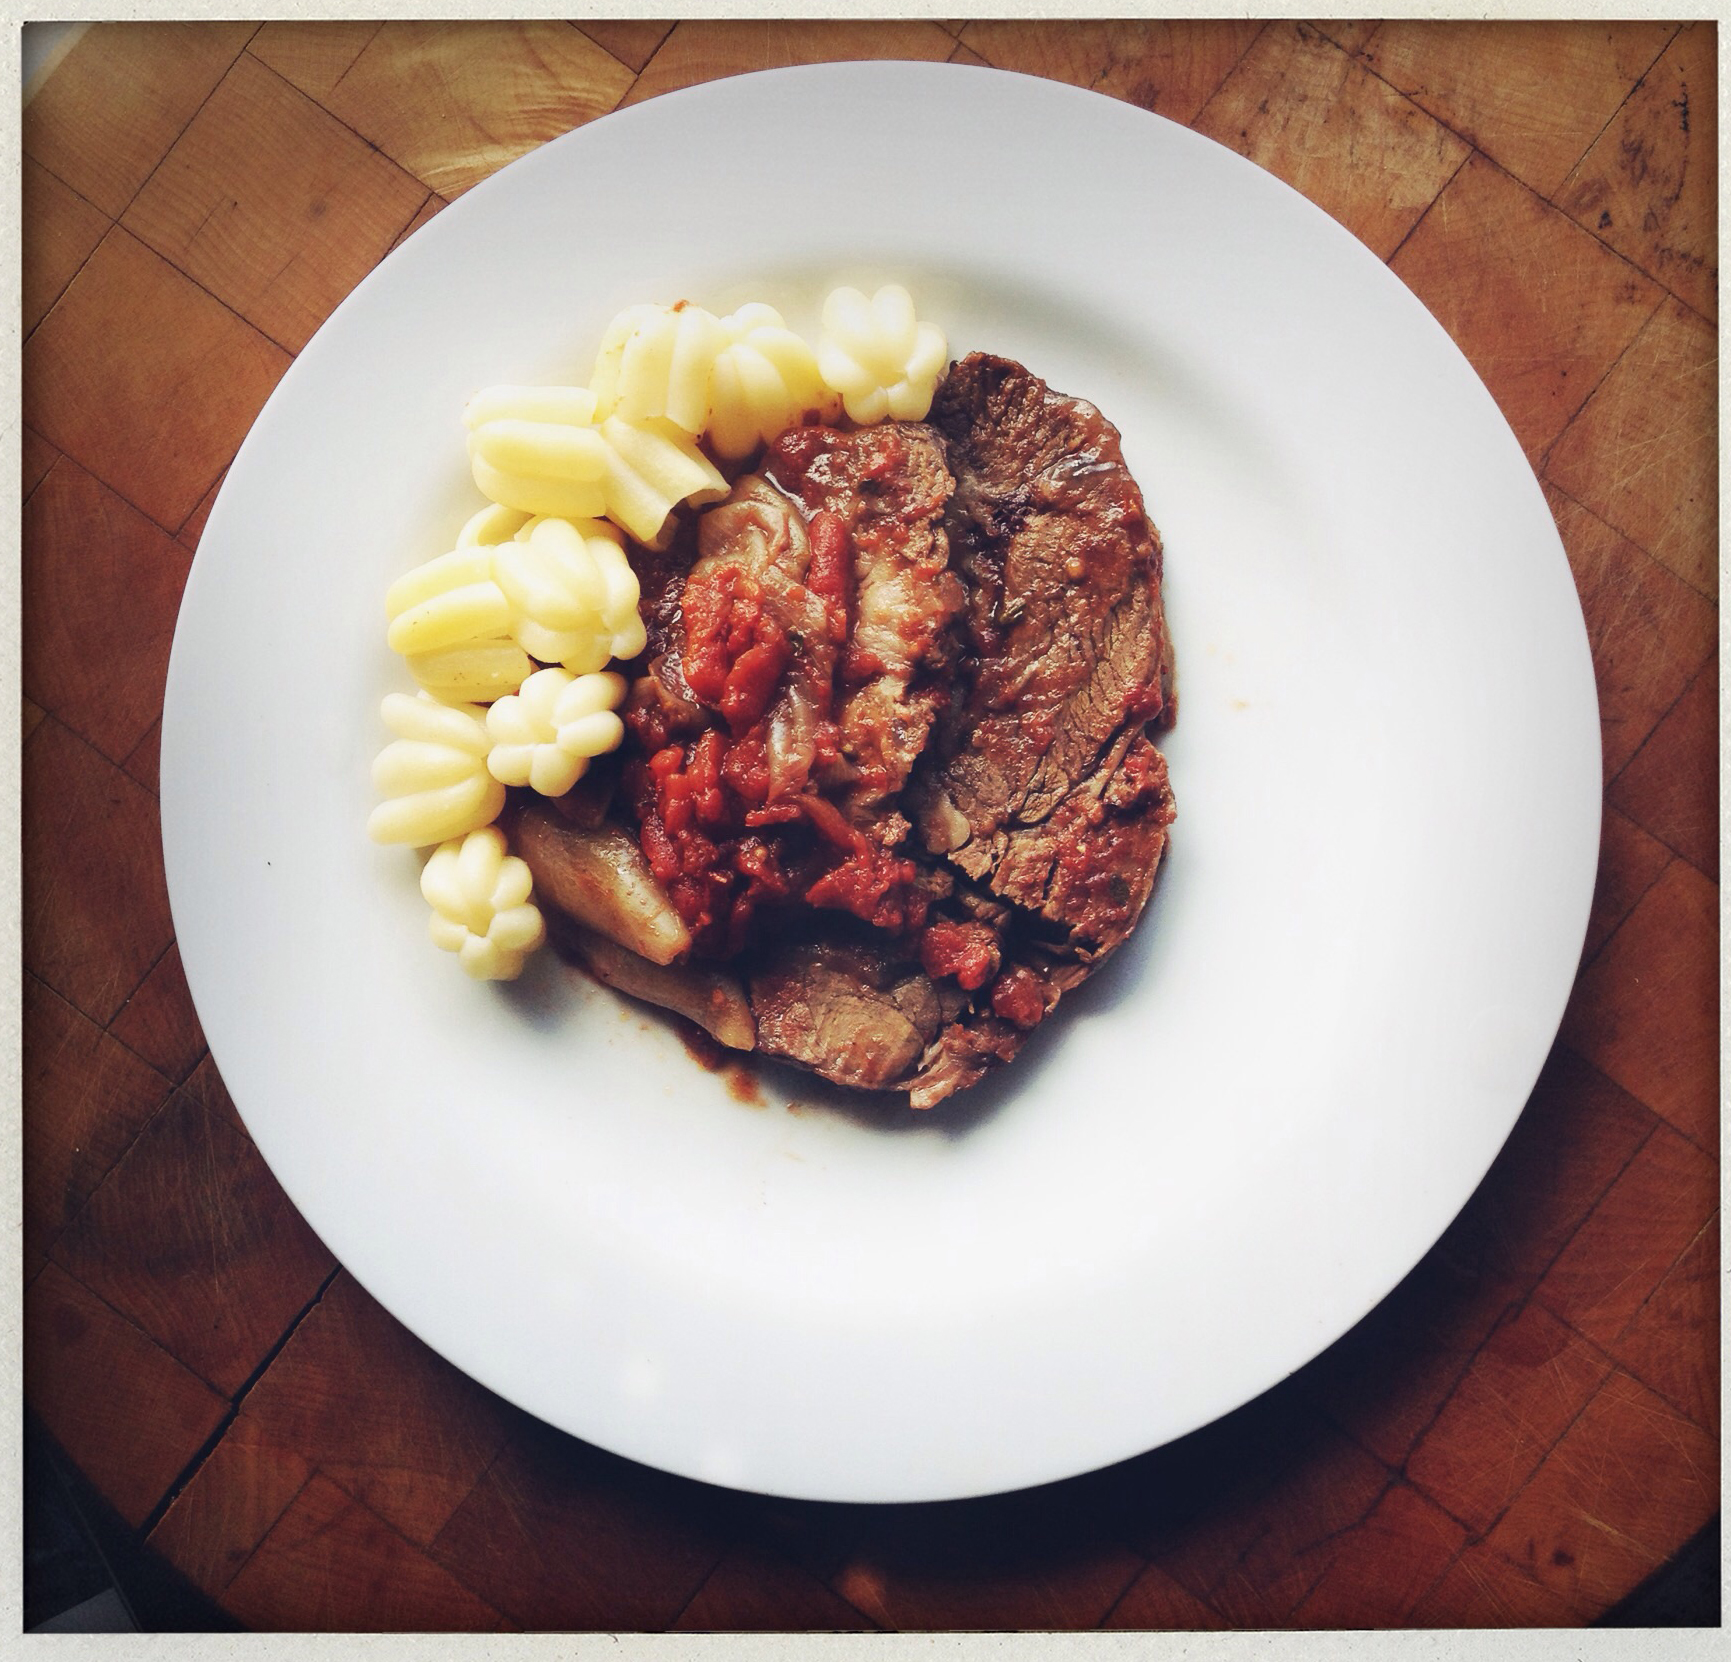
But I refuse to give up. And so here, on a Friday, is the next installment of the Thursday food post. About a pot roast I made over a week ago, featuring a photograph of the lunch time leftovers I had 2 days after I cooked it in the first place.
I found the instructions on Smitten Kitchen, but she got it from a 2001 issue of Gourmet Magazine (may it rest in piece). The appeal is that it is super simple, with just meat, a can of tomatoes and garlic. You tie up the beef, chop up the tomatoes and garlic, dump them on the beef, and cook it.

OK so maybe I’m not the best at tying up a roast. But hey, at least I’m trying.
Deb used a 3 1/2 lb roast and cooked it at 300 for 3 – 4 hours. I used a piece half the size and cooked it for around an hour and a half till my thermometer read 135 degrees for medium rare. I also couldn’t help myself and added an onion (peeled and quartered) as well as some thyme and a good pour of red wine. Also, Gourmet says to buy meat from the supermarket because it’s fatty, which is evidently what you want. I stand with Deb Parker on this one and went to my local butcher (The Meat Hook, which rocks) and bought me a high quality, grass-fed, free-range cut, but just asked them to leave the fat on. And it was delicious, let me tell you.
As long as you like beef and tomatoes, you won’t be sorry you made this dish. And the leftovers are even better than the first night’s version, if you ask me, so a generously size piece of meat is not a bad thing.
You can cook from the original Gourmet recipe, or enjoy Smitten Kitchen aka Deb Parker’s snappy prose and extensive photos. Or just scroll down as I’ve reprinted the whole shebang below:
Serves 6
1 28-ounce can whole tomatoes
1 (3 to 3 1/2 pound) boneless beef chuck roast, tied with a string
1 head garlic, separated into cloves, left unpeeled
Heat oven to 300°F (150°C). Coarsely chop tomatoes with their juice in a food processor (Gourmet’s suggestion) or go at them in their can with kitchen shears (my lazy preference) to break them up. Put roast in an ovenproof 4- to 5-quart heavy pot or a casserole dish with a lid — a tight fit is just fine, as it will shrink very soon. Pour tomatoes over roast and scatter garlic around it. Season generously with salt and pepper. Braise in middle of oven, covered, until very tender, 3 to 4 hours. Cut roast into 1/4-inch-thick slices and serve with sauce, garlic, squeezed from its peels (or you can leave others to do this) and orzo (Gourmet’s suggestion, of course not gluten-free), mashed potatoes or crusty bread. Leftovers shredded over egg noodles sound wonderful as well.
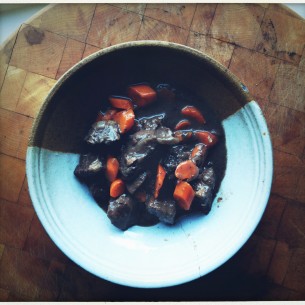
Do ahead: Like almost all braises, this is even better on the second day, which means it’s a dream of a dinner party dish. Let it cool to room temperature, then chill it in the fridge until needed. Defat the sauce before warming (it will be a cinch once solidified on top) and rewarm at 300 for 30 to 45 minutes.
Notes:
What to buy: Gourmet is absolutely adamant that you should buy your meat from a supermarket, and not a fancy butcher shop, where the meat is often too lean and becomes dry when cooked. I, ever the rebel, and eager to part ways with my hard-earned money, didn’t listen and bought a lovely and dearly priced grass-fed organic one with a good marbling of fat and regret nothing. But you have every reason to keep this as budget-friendly as possible.
Why truss? It’s a valid question, especially as we are not stuffing the roast and thus have nothing to contain. This is almost purely an aesthetic choice; it’s about appearance, not flavor. Trussing keeps a roast from spreading out too much as it expands while cooking, losing that nice round shape you paid so much for. If it flattens, it also might end up completely submerged in the liquid, tasting more boiled than braised, which would be a bummer.
How to truss: Note, don’t use mine as much of a guide; it’s far more trussed than this dish requires. (I couldn’t say no when the butcher offered to do it for me.) Two or three loops — at either end, or with a third one in the middle — would have done just fine. Keep them loose; you want the meat to expand even while gently encouraging it to keep it’s shape, plus cotton butchers twine, the best thing to use, will shrink in the oven as well. If you’re still nervous about how to proceed, check out this video.
To dabble: You should not make this if you care for neither garlic nor tomatoes, for obvious reasons. And I hope that you anticipate that this will be a simple (but lovely) dish as written. Nevertheless, there’s no reason not to dabble if you’ve got a couple pet ingredients you’d prefer this with. I don’t think I’d be able to resist adding a couple glugs of red wine, maybe a halved onion and some thyme next time. And I’ve rarely met a beef braise that didn’t taste good with a dash of vinegar (sherry, balsamic or malt) or Worcestershire, bay leaves, mushrooms (which I’d saute and add at the end).

Comments (0)