98 articles

Last night’s dinner: Stir-fried beef

Stir fried beef

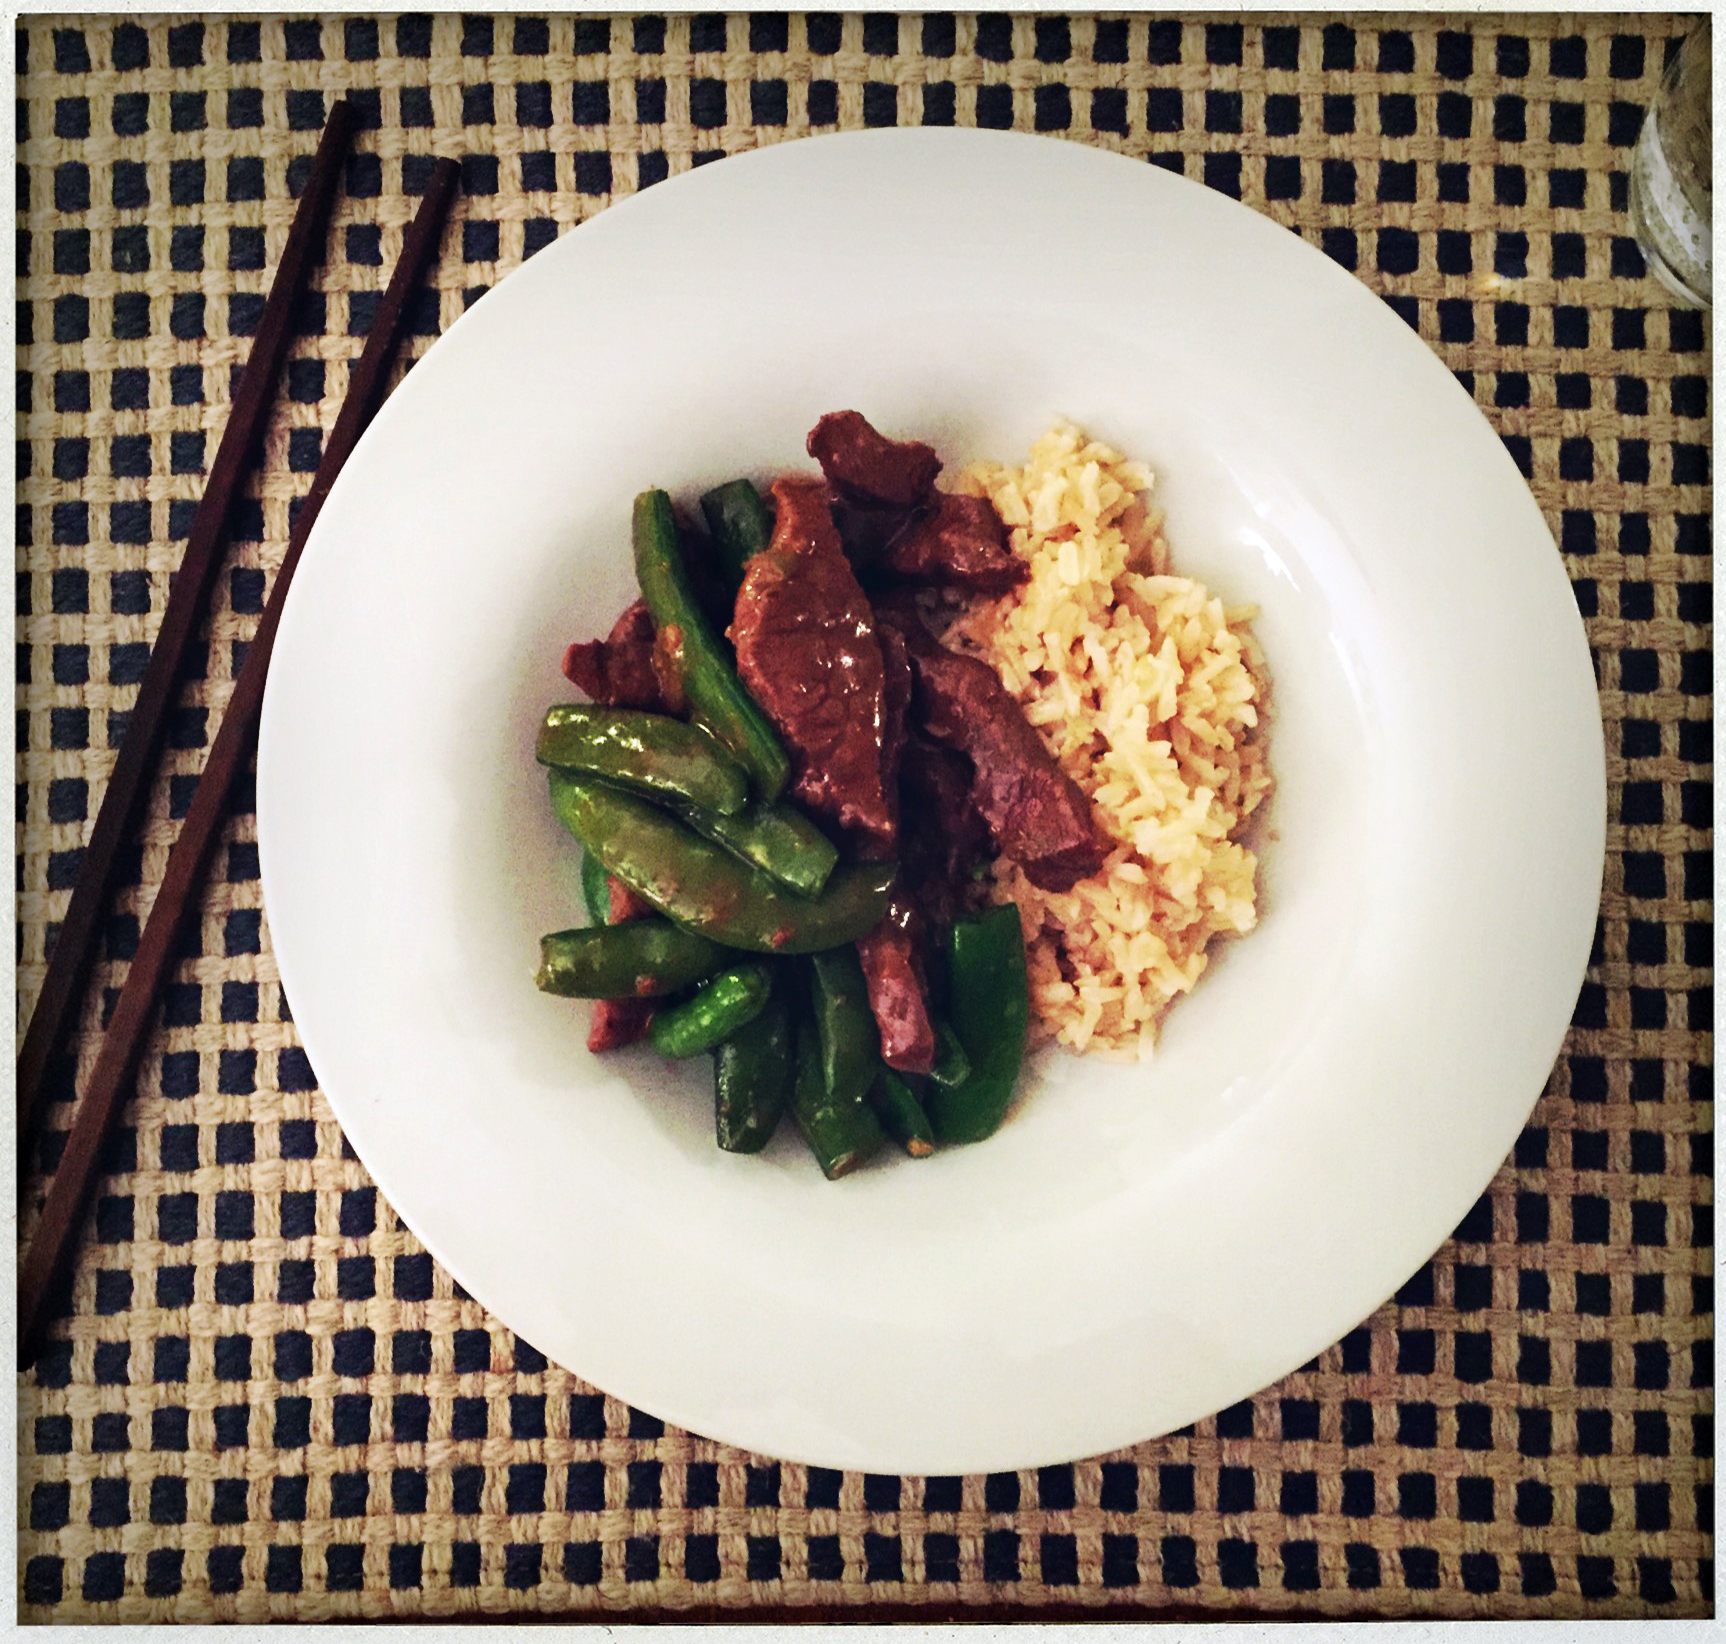
Stir fried beef with snow pea pods– a favorite around our house.

I try to always have about a pound of good quality beef around… cut into strips and ready to throw onto the wok. (Yep, that same wok that spent years languishing unused on the shelf is finally coming into heavy rotation.) Because when you needed dinner to be on the table 15 minutes ago, this recipe can’t be beat.

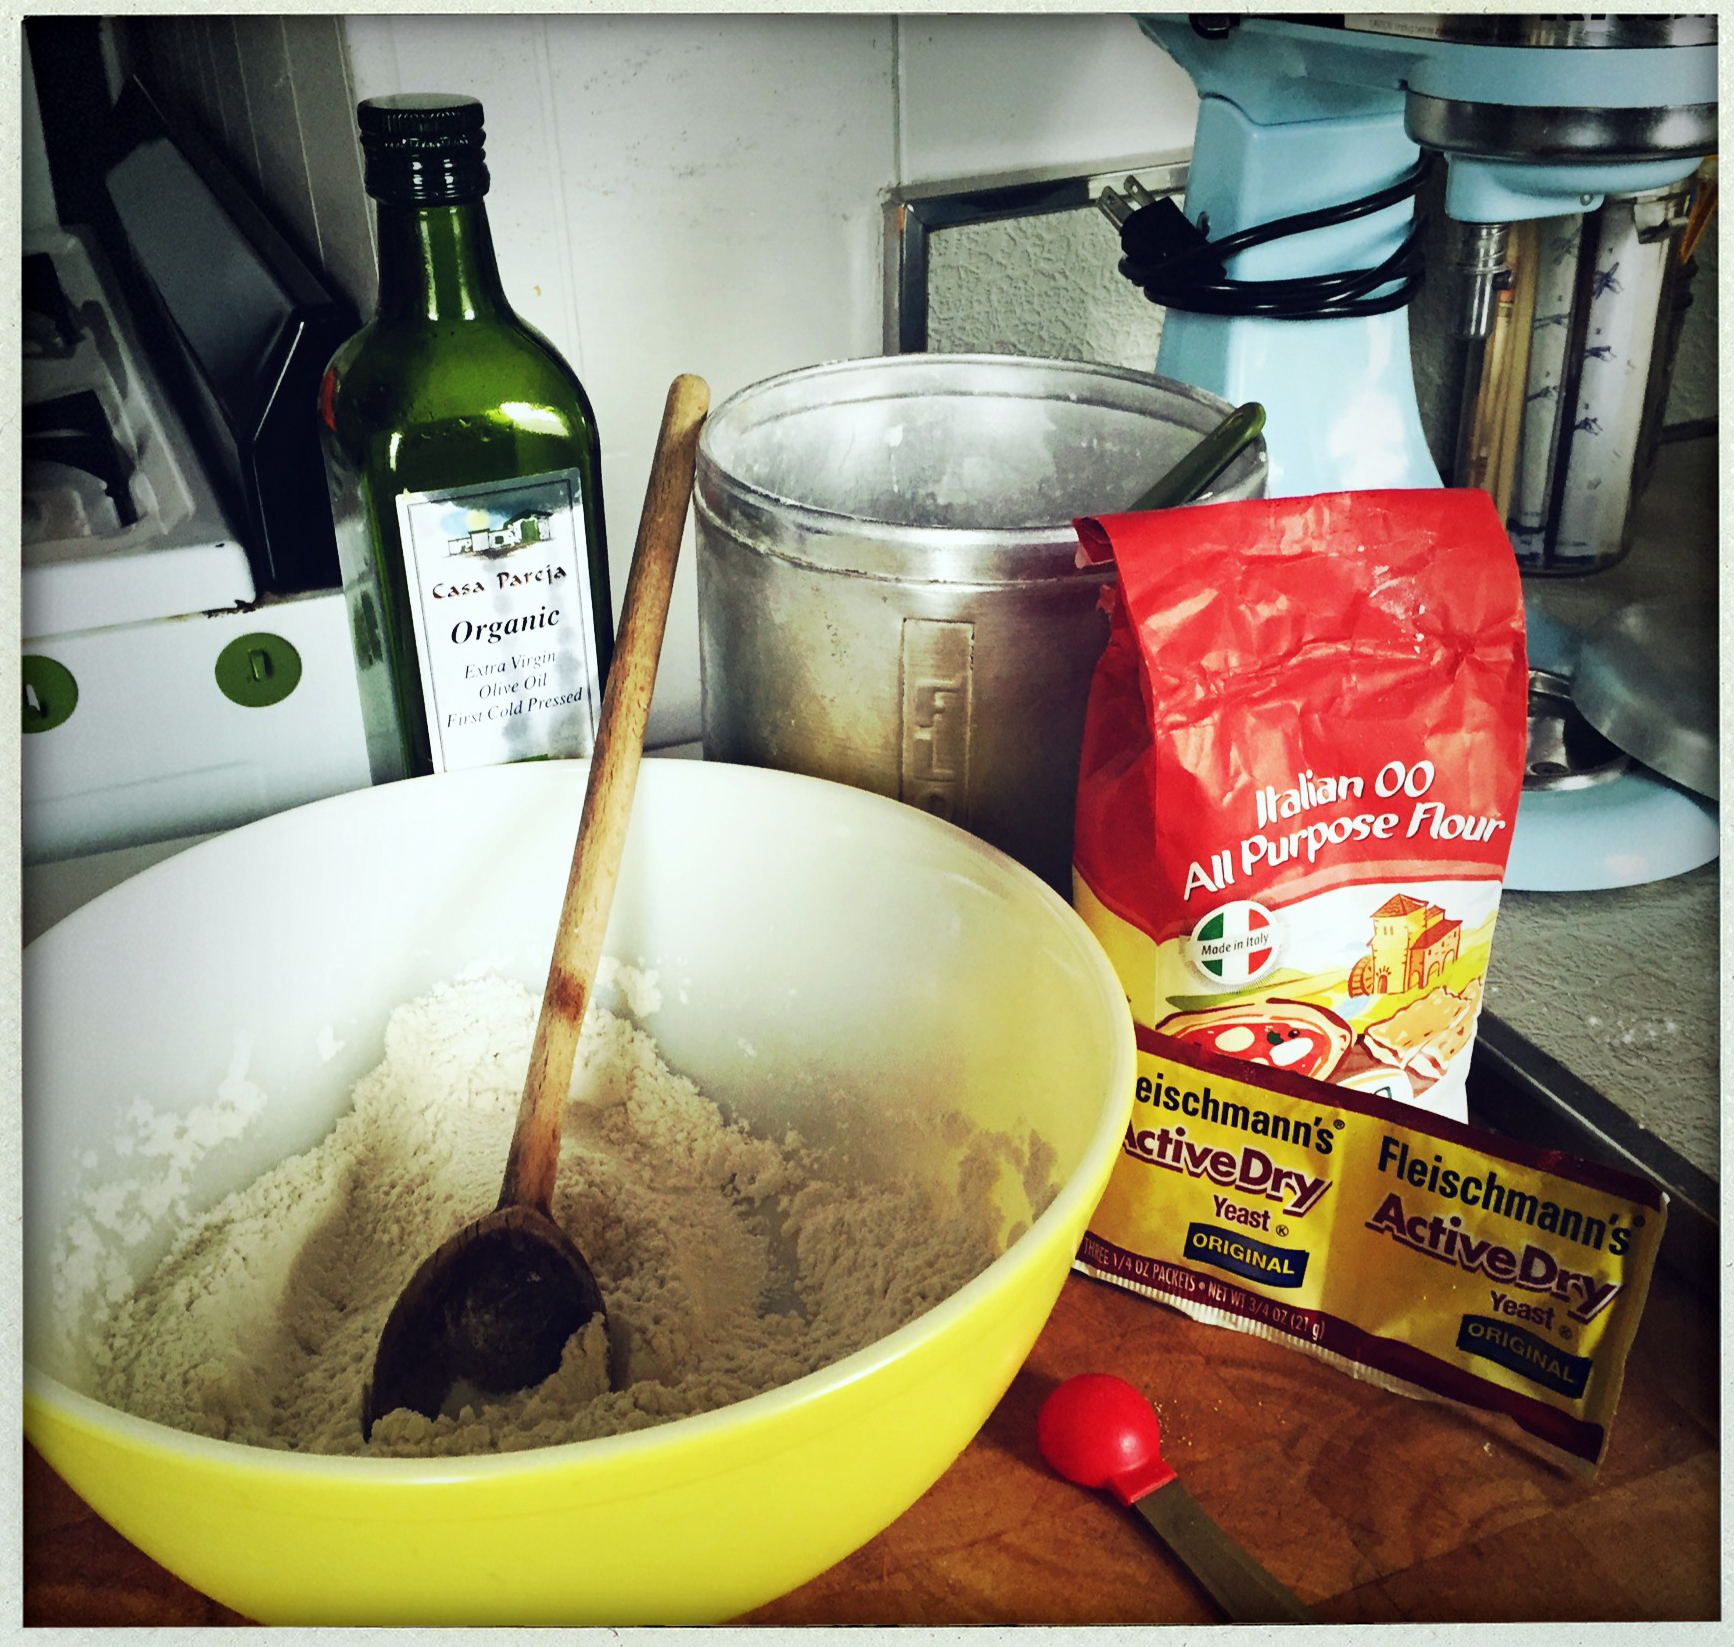
Absolutely first thing to do is get your rice going. Next, start the beef soaking in soy sauce and sesame oil. Once that stuff is happening, you just prep and chop the veggies, heat up the wok and go. It’s amazing how fast you can get a delicious and semi-exotic meal on the table.

And if you play your cards right there may even be leftovers for lunch the next day.

Melissa Clark’s Stir-Fried Beef with Sugar Snap Peas

Ingredients

1 pound lean beef, cut into 1/4-inch strips
3 tablespoons tamari or dark soy sauce
2 teaspoons toasted sesame oil, more for drizzling
¼ teaspoon kosher salt
½ teaspoon freshly ground black pepper
1 pound sugar snap peas, trimmed (we sometimes use snow peas, when the sugar snaps are scarce)
3 fat scallions
⅔ cup chicken broth
2 ½ tablespoons Madeira or sweet sherry
1 tablespoon cornstarch
3 tablespoons peanut or olive oil
4 garlic cloves, minced
Rice, for serving
2 tablespoons toasted sesame seeds (optional)
Sriracha or other hot sauce, or rice wine vinegar for garnish
chili oil, for garnish

Preparation

In a medium bowl, mix beef, 2 tablespoons tamari, sesame oil, salt and pepper. Set aside. Thinly slice sugar snap peas crosswise into disks. Thinly slice scallions, reserving dark green parts for garnish. In a small bowl, mix chicken broth, Madeira, 2 tablespoons water, remaining 1 tablespoon tamari and cornstarch. Heat a large skillet over high heat. Add 2 tablespoons oil. When pan is hot, stir-fry beef until browned, about 2 minutes. Transfer beef and any liquid to a plate. Add remaining tablespoon oil to skillet and when hot, add garlic and white and light green scallion parts until lightly browned, about 1 minute. Add sugar snap peas and chicken broth mixture, lower heat to medium and cover. Let cook for 2 minutes. Transfer beef and juices to skillet and stir-fry 2 minutes. Serve over rice, garnished with more sesame oil, sesame seeds, dark parts of scallions, and hot sauce or vinegar and chili oil.

Pizza night!

pizza dough ingredients

This is basically all you need to make the highest quality pizza dough at home.

When I discovered how easy it is to make pizza at home, I inserted a weekly pizza night into our dinner rotation. Add to that the fact that it is a shared activity with your kids (who doesn’t love making a pie and pouring cheese all over it?) and the fact that the whole cooking process takes… oh… about 10 minutes, and it’s a miracle we don’t have pizza every night.

For about a year, I have been ordering frozen dough from Fresh Direct. It comes in the perfect size and it absolutely eliminates the need for any skill whatsoever. But then I saw this recipe for home made dough by the pizza gurus at Roberta’s and I found myself seized with the urgent desire to Make. My. Own. Dough. From. Scratch.

I put it off for a few weeks, and then it took me a minute to track down 00 flour (a special Italian finely ground variety) but once I had my hands on that I was off to the races. And the thing is… the dough was DELICIOUS. And really easy. Beyond really easy. I’m sure I have loads of room for improvement, but even my most basic beginner version comes in head and shoulders over the frozen stuff we’ve been eating up till now.

pizza dough pre-rise

Here’s are my first two balls of pizza dough, all mixed up and ready to rise.

I found the recipe on NY Times Cooking, and I got my confidence to go for it after watching the video that goes with it. All you need is time for the dough to rise– either overnight in the fridge or 3 – 4 hours on the counter.

pizza dough

All risen up and ready to go!

And then the rest is just tomato sauce, cheese and maybe some onions…

the finished pizza

As usual, I started eating before I remembered that I should photograph the finished product. So here is most of my pizza, which was a delicious small cheese with onions.

Here’s the recipe if you can’t deal with clicking through to the Times…

Roberta’s Pizza Dough

Ingredients

153 grams 00 flour (1 cup plus 1 tablespoon)
153 grams all-purpose flour (1 cup plus 1 tablespoon and 2 teaspoons)
8 grams fine sea salt (1 teaspoon)
2 grams active dry yeast (3/4 teaspoon)
4 grams extra-virgin olive oil (1 teaspoon)

Preparation

In a large mixing bowl, combine flours and salt.

In a small mixing bowl, stir together 200 grams (about 1 cup) lukewarm tap water, the yeast and the olive oil, then pour it into flour mixture. Knead with your hands until well combined, approximately 3 minutes, then let the mixture rest for 15 minutes.

Knead rested dough for 3 minutes. Cut into 2 equal pieces and shape each into a ball. Place on a heavily floured surface, cover with dampened cloth, and let rest and rise for 3 to 4 hours at room temperature or for 8 to 24 hours in the refrigerator. (If you refrigerate the dough, remove it 30 to 45 minutes before you begin to shape it for pizza.)

To make pizza, place each dough ball on a heavily floured surface and use your fingers to stretch it, then your hands to shape it into rounds or squares. Top and bake.

Done!

I used the standard measurements (couldn’t deal with grams) and it all worked out fine… Oh and if at all possible, pre heat the cookie sheet or cast iron pan or pizza stone before you slide on the pie. It makes the world of difference.

Monday, Monday– or more links about cozy food to make during the aftermath of the recent blizzard

roasted chestnuts from adventuresincooking.com

Here are some delicious looking roast chestnuts from Adventures In Cooking, the blog of Eva Kosmas Flores, an Oregon based photographer whose photographs are at least as delectable as the food she prepares. Her blog (and Instagram) are not to be missed.

Here’s how to make the incredible looking roasted chestnuts pictured above.

Bust out the slow cooker and make this Mississippi roast with the carefully researched help NY Times food guru Sam Sifton.

Now that the travel ban has been lifted, you may want to have some friends over. Get the evening started right with this roasted cauliflower and onion dip I saw on A Cup of Jo.

If you’re really feeling ambitious, maybe try making these apple butter and bacon tartlets from My Name Is Yeh and then pretty please invite me over to share in the bounty.

Whole wheat crusted chicken pot pie with kale, butternut squash and fresh herbs from Food52. Say no more.

A Spanish tortilla that doesn’t disappoint.

And last but not least, nothing says keep-me-warm-on-the-inside better than a bowl of carrot tomato coconut curry soup.

Bye bye Britta

binchotan charcoal

It’s kind of amazing what a little piece of binchotan charcoal can do to a jug of water…

2016 is the year of less plastic. I’m not going so far as to say that I will eliminate all plastic from my life, but I’m going to put a concerted effort into reducing my plastic use as much as I can. That much I am willing to promise. And in keeping with that resolution, I am now, officially, no longer just taking note of and bookmarking ideas that might help me achieve this goal. I am putting them into action. Because that’s what the 2016 version of myself does.

Along these lines, there I was at my friend Rita’s place (she is a bit further along the no-more-plastic road than I am) and she served us water from a beautiful glass carafe with this black stick in it. The whole thing looked like a minimalist sculpture. She explained that bichotan charcoal has been used by the Japanese for hundreds of years to draw the impurities out of water. Since you can choose your own vessel, you can easily ditch the plastic pitchers for a glass carafe. I swear the water tastes brighter.

There is a small amount of prep involved… You must boil the charcoal in water for 10 minutes to activate it and repeat this process approximately every two weeks to reactivate the sticks. They will last three to four months before they need replacing, and you can stick the “used” bits in the fridge to absorb smells (instead of baking soda) or in your compost for some extra nutrition.

But I say that little bit of effort is well worth it.

Gifts for the people in your life who are really into cooking, eating and just being around nice food

Photo tk

Photo by James Ransom

Because you want to keep your bread, veggies, pasta etc fresh but you are trying oh so hard to stay away from plastic. And also because you want the inside of your fridge to look all cute and full of striped bundles and whatnot. Bee’s Wrap (set of 3 sizes) $24.

41Dieuq0OVL._SX466_

Because we all need a place to store our knives, but most of us don’t have a magnetic knife rack made of wood, now, do we? Cherry Magnetic knife rack, $45.

Photo courtesy of Gather Journal.

Photo courtesy of Gather Journal.

Because what part of a book called Chicken Makes the Ice Cream Taste Better (written by Harlem middle schoolers about their experiences with food and the Edible Schoolyard Program) don’t you want to read? At 826NYC.org, $15.

Photo courtesy of potterandwoodsworth.

Photo courtesy of potterandwoodsworth.

Because… well… just because these plates are really nice and will make your table feel special without being all precious and overly formal, if you know what I mean. White Lace Dinner Plates by potterandwoodsmith on Etsy, $18.

Photo tk for Food52.com.

Photo by Rocky Luten and Alpha Smoot for Food52.com.

Because it’s rugged (waxed cotton) and grey (the new black) and long (because we’re messy) and will last forever (which is always a good thing). Grey waxed canvas apron, $150.

Photo courtesy of The Brooklyn Larder.

Photo courtesy of The Brooklyn Larder.

Because it’s like a book of the month club, but for cheese. But even more useful than literature because now, when folks just show up all unexpected like, you will actually have something to serve them. Brooklyn Larder Monthly Cheese Club, from $199.

Serving it up!

Linea Rainbow Serving Spoon from Gretel Home.

I want this Linea Rainbow Serving Spoon from Gretel Home badly.

I am a person who has lots of stuff. Some would argue too much, and for the most part, I would have to agree with them. I’ve even expended all sorts of energy and time and mental space trying to de-clutter my life. The results have been mixed, at best, but I am determined to clear out some space, so I will continue to make the effort.

But as Thanksgiving rears its formidable head again this year, I realize that there is one essential item that is missing from my tabletop arsenal: the serving spoon. I basically just use big soup spoons or borrow from my parents next door or use the salad servers, because I never remember the lack of these items until I’m putting food on the table.

But this year is different. I am looking now, and maybe, just maybe, 2015 will be the year when I begin to be able to dish out the holiday deliciousness in a more appropriate manner.

Above is my current obsession, the rainbow spoon. It has a matching fork, too. Of course they are made to order from Italy and take a month and cost a small fortune, but that makes them all the more desirable…

small corner everything spoon

Next we have the Small Corner Everything spoon, individually handcarved in California of the finest walnut. They even come with a small bottle of rubbing oil to ensure that we take good care of them.

food25 dipped spoon

Or maybe we take the wooden spoon in a different direction by adding a subtle hint of color, like the Wind and Willow Home folks have done with these Fresh Soil-Dipped serving spoons. The rubber handles also make them easy to hold, for those of us with perpetually slippery hands.

vintage silver spoon

Or maybe I go old school and pick up this simple traditional spoon that I saw on Krrb… the seller is in my neighborhood so this spoon could be mine in a matter of minutes!

canvas oslo spoon matte black

Or there’s always black, which goes with everything. This Oslo Spoon by Canvas feels both modern and timeless, so it’ll fit in nicely with everything we already have!

If any of you folks out there have any good suggestions, I’d love to hear…

Tower of Power

chocolate fudge

Our very own leaning tower of Pisa, but made out of pure chocolate fudge.

I am always drawn to a recipe that has the words “absurdly easy” in the title. Especially when those two words are describing how to make your own chocolate fudge, a delicacy that I had previously assumed was only created by Willy Wonka type wizards in their mysterious candy shops.

But oh how wrong I am.

Leave it to Julia Moskin of the NY Times to demystify and utterly simplify the making of this chocolate treat– it literally takes just 15 minutes to make, plus an overnight in the fridge to set. We skipped the nuts as we have nut allergies in the house, but followed the rest of the instructions to the letter and have been blessed with an almost sinful amount of the richest deep chocolaty fudge I have ever tasted. And because one can only eat a tiny bit at a time, we have our school lunch desert set for weeks.

And that alone is worth singing about.

Julia Moskin’s Absurdly Easy Chocolate Fudge

Ingredients

4 tablespoons (1/2 stick) butter, plus extra for greasing the pan
1 pound semisweet or bittersweet chocolate
1 (14-ounce) can sweetened condensed milk
⅛ teaspoon salt (optional)
½ cup chopped nuts (optional)

Preparation

Butter an 8-inch-square baking pan. Line with parchment or wax paper, letting edges of paper hang over sides of pan.

In top of a double boiler or a metal bowl set over (not resting in) simmering water, combine all ingredients except nuts. Mix just until melted and well combined. (Alternatively, use a microwave on low power to melt ingredients, stopping every 10 to 20 seconds to mix well.) The mixture should be heated as little as possible. Mix in nuts, if using.

Scrape mixture into prepared pan. Refrigerate until set, about 4 hours or overnight. Lift fudge on paper out of pan and use a large knife to cut into squares.

Apple curry coconut soup

Apple coconut curry shiitake soup.

A cure for what ails you… Apple coconut curry shiitake soup. Delicious.

In the interest of winning the epic life long battle against the dreaded cold and flu season, and because we are going apple picking tomorrow and are going to need all sorts of things to do with the bushel of apples we are sure to bring home, I present to you this incredibly delicious, warming, wholesome, flavorful (nay, spicy if truth be told) and healing apple coconut curry soup.

It started with an e mail from John Gallagher (of Learning Herbs fame) with the subject line: “Is an apple a healing herb?” Naturally I had to find out, so I opened the message and discovered this recipe from Learning Herbs contributor Rosalie de la Foret. Before laying down the cooking directions, she shares a bit about the healing properties of each ingredient (Apples are loaded with antioxidants, garlic boosts the immune system and shiitake mushrooms have been shown to support cardiovascular health) just in case we need any more motivation.

And then we are off to the races. You can get all sorts of details about the nutrition, plus the recipe in it’s original form, on LearningHerbs.com.
But I’ve laid it all out here just to make it easier.

I’ve been eating this soup all week and man has it hit the spot!

Coconut Apple Curry Soup

Ingredients

3 tablespoons butter
1 onion, minced
1 tablespoon minced fresh ginger
2 tablespoons curry powder
2 teaspoons freshly ground pepper
2 small apples, cubed into small pieces (I like the more tart apples like McIntosh)
2 medium potatoes, cubed into small pieces (I like Yellow Finn potatoes)
1 quart vegetable or chicken broth
1 cup coconut milk
Salt to taste (I added about 2 teaspoons)
2 handfuls fresh shiitakes, cut into quarters (If using dry shiitakes, rehydrate the mushrooms in hot water and then cut to size)
Parsley for garnish (optional)

Begin by melting the butter over medium heat in a medium saucepan. Add the minced onion and sauté until translucent. Add the fresh ginger, curry powder, and freshly ground pepper. Stir for one minute or until the spices are fragrant.

Bring it to a simmer and cook until the potatoes are tender, 15 to 20 minutes. Add salt to taste. Remove from heat and let cool slightly. Using an immersion blender or a regular blender, purée the soup until smooth. Return the soup to the pan and add the shiitakes.

Simmer for 10 minutes or until shiitakes are cooked. Stir frequently. Add salt and pepper as desired. Optional parsley for garnish. Makes four large servings

One can never have enough chocolate cake

chocolate cake

These are two pieces of chocolate deliciousness that I made with my daughter and proceeded to have for dessert every night for a week.

This past summer my family celebrated the birthday of our friend Roe by joining a bunch of friends on Shelter Island for an epic celebration that involved kids, a raw bar, corn on the cob, home made pizzas, bbq steak, multiple bottles of tequila, a brilliant sunset, Creedence Clearwater Revival and three (yep, 3) birthday cakes all made by the inimitable Stephanie Mankins.

The cakes were magnificent, and I (of course) begged Stephanie to tell me how to make them. Turns out the recipes had been lovingly passed down from her grandmother, which somehow made the cakes that much more delicious. Especially the chocolate one. True to Ms Mankins’ old school and most excellent ways, my answer came not in the form of an e mail with a link to the recipe, but as a beautifully handwritten recipe card enclosed in an envelope and sent to me via– gasp– the United States Postal Service.

choc_cake_card

So here it is, in all of it’s glory. This cake is beyond easy to make, and will keep wrapped up on the counter for up to a week. And a beautiful week it was, let me tell you. We snacked and deserted (as in ate desert, not left the premises) like royalty.

ps: By the way, where the recipe says “soda” she means baking soda.