Making lemon bars from scratch is hard (but worth it)

ny times lemon bars

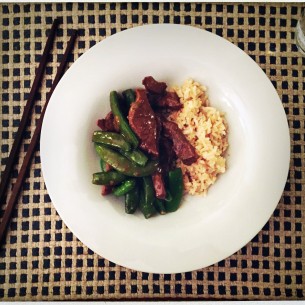
Here are our far-from-perfect-but-nonetheless-delicious lemon bars, ready to be packed off to school and sold at the bake sale, because such is my life.

I promise that the next time I go to Bakeri I will not complain (even to myself, in secret) about the cost of their tiny and delicious lemon squares. Because they are not easy-peasy to create, like baking brownies for example. One actually needs some skill and mental confidence to pull these babies off.

That said, my daughter and I had a marathon baking session last night in order to make the aforementioned pastries for her school bake sale. The proceeds go to the scholarship fund, so the hard work was worth it, even though I secretly wanted to give up several times along the way.

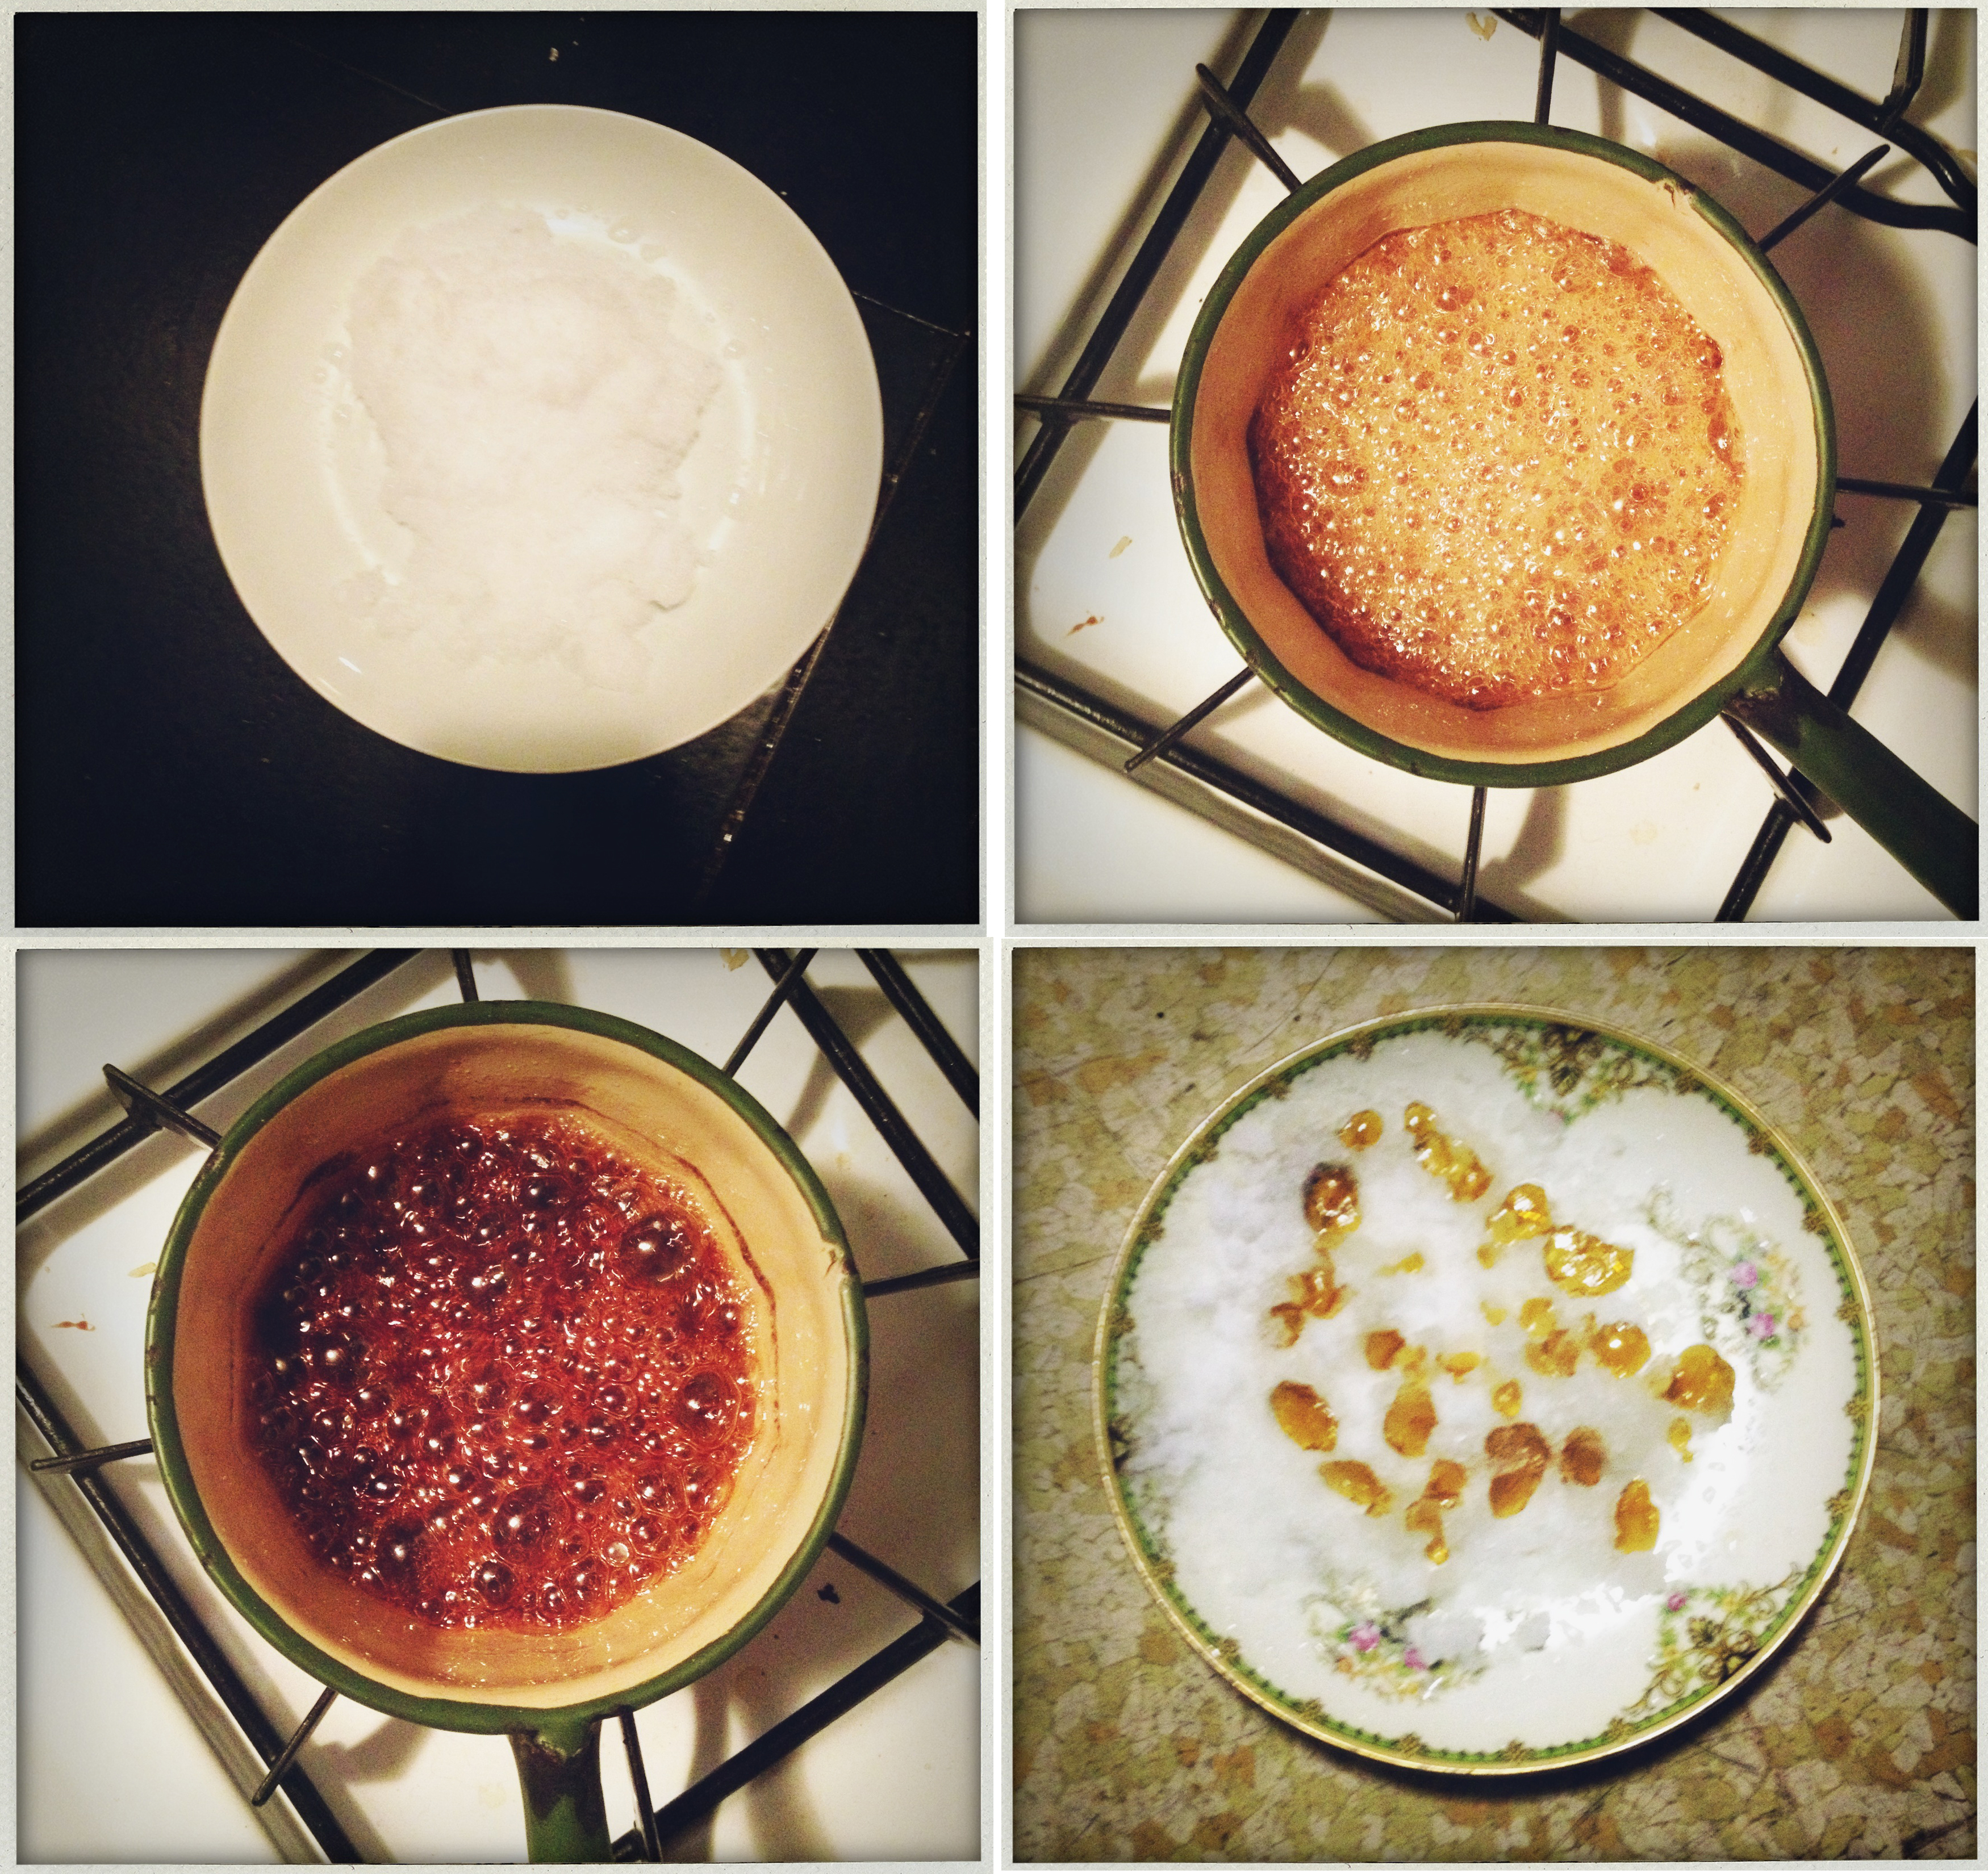
But I was, as usual, playing the role of responsible, all-knowing, nothing-can-stop-us mom, so I zested the hell out of those lemons (a HUGE pain… if anybody knows a short-cut way to create zest, let him come forward), and patiently let my seven year old measure out flour and corn starch and cut frozen butter into cubes and whisk the lemon mixture on the stovetop until it transformed itself into curd.

And then I removed the pan from the oven every three minutes or so, shaking it to see whether or not it had “set” properly. It never did completely solidify, but I finally took it out of the oven when the center was very very slow to move when I tilted the pan. I then left it to cool down to room temperature, slept for 90 minutes, woke up (at 1:30 am, like a crazy person) and put the pan in the fridge to cool for the rest of the night.

This morning, solid-ass lemon squares were my reward. Ready to be cut, sprinkled with powdered sugar, and sent off to school to be purchased by other members of my kid’s school community. Hallelujah.

We sold them all, which is was very gratifying.

Here is the recipe we followed, from the esteemed Melissa Clark at the New York Times. We used a 9 x 13 inch pan, so we increased the ingredients by 50% and cooked the curd/crust combo for about 30 minutes:

Lemon Bars with Olive Oil and Sea Salt

Ingredients:

FOR THE CRUST:
1 1⁄4 cups/155 grams all-purpose flour
1⁄4 cup/50 grams granulated sugar
3 tablespoons/25 grams confectioners’ sugar, plus more for sprinkling
1 teaspoon finely grated lemon zest
1⁄4 teaspoon fine sea salt 10 tablespoons/142 grams
unsalted butter

FOR THE CURD:
4 to 6 lemons
1 1⁄2 cups/300 grams sugar
2 large eggs plus 3 yolks
1 1⁄2 teaspoons/5 grams cornstarch
Pinch of fine sea salt
4 tablespoons/57 grams cold butter, cut into cubes
1⁄4 cup/60 milliliters fruity extra- virgin olive oil
Confectioners’ sugar Flaky sea salt, for sprinkling

1. Heat oven to 325 degrees and line a 9-by-9-inch baking pan with enough parchment to hang over two of the sides (to be used as handles later to lift the bars out of the pan).

2. To make the shortbread base, pulse together the flour, granulated sugar, confectioners’ sugar, lemon zest and salt in a food processor, or whisk together in a large bowl. Add butter and pulse (or use two knives or your fingers) to cut the butter into the flour until a crumbly dough forms. Press dough into prepared pan and bake until shortbread is pale golden all over, 30 to 35 minutes.

3. While the shortbread is baking, prepare the lemon curd: Grate 1/2 tablespoon zest from lemons and set aside. Squeeze lemons to yield 3/4 cup juice.

4. In a small saucepan, whisk together lemon juice, sugar, eggs and yolks, cornstarch and fine sea salt over medium heat until boiling and thickened, 2 to 5 minutes. Make sure mixture comes to a boil or the cornstarch won’t activate. But once it boils do not cook for longer than 1 minute or you risk the curd thinning out again. Remove from heat and strain into a bowl. Whisk in butter, olive oil and lemon zest.

5. When the shortbread is ready, take it out of the oven and carefully pour the lemon curd onto the shortbread base; return the pan to the oven. Bake until topping is just set, 10 to 15 minutes more. Allow to cool to room temperature, then refrigerate until cold before cutting into bars. Sprinkle with confectioners’ sugar and flaky sea salt right before serving.

Yesterday, at some point…

metropolitain opera house

This week, in a brilliant move to recapture the thrill of date night, we went to see La Bohéme at the Metropolitan Opera House. I now suddenly find myself listening to opera and wishing that I had a light like this one in my living room…

___________________________________
Yesterday, at some point is a series of photographs that describe a moment I experienced during the previous day. The posts are meant to be stand alone images, though at times I can’t control myself, and I end up expanding the caption into a more lengthy bit of text. Hopefully the extra information is useful, or at least interesting. If not, feel free to ignore it.

Monday, Monday, or Many rivers to cross

Martin Luther King day is a time to celebrate the legacy of an incredible human being, for sure. But it is also a time to consider not only how far we have come, but how many miles we need to travel before The Dream comes true.

Here are a few ways that might nudge us all in the right direction…


The first thing to do, if you haven’t already, is to go out and see Selma. If you’re in 7th, 8th or 9th grade in one of 24 participating cities, you can go see the film free of charge. Check out the selmastudenttickets.com website for details.

Go join the army of volunteers helping others today.

Go be inspired by art, film, performances at BAM‘s 4 day tribute to MLK.

National Geographic Kids has this photographic bio to help the next generation better know Martin Luther King, Jr.

Watch the I have a dream speech.

Read this article in Mother Jones about how the current Black Lives Matter movement is aspiring to reclaim MLK’s legacy. And then check out blacklivesmatter.com and get involved.

Test your knowledge of civil rights and freedoms by doing this NY Times crossword puzzle.

How to not be furious about the fact that it is still freezing out

maple taffy production

The various stages of maple taffy production, clockwise from top left: 1) a plate of snow. 2) the maple syrup, just as it reaches the perfect stage of foaminess (is that a word?) and is ready to be poured. 3) If it gets this dark, it’s pretty much burnt and you should quickly turn off the burner and start again. We weren’t fast enough, and much smoke and sadness ensued. 4) the final result– delectable drops of sweetness (a little blurry, but you get the idea!)

Back in the olden days, when the world was much simpler and Michael Landon was everyone’s favorite dad, winter was a glorious time full of sleigh rides through the big woods to your grandparents’ house where folks would gather to sing, dance, and eat to celebrate the latest maple harvest.

No matter how many times we listen to Cherry Jones reading Little House In The Big Woods (and believe me, we have listened to it many many times…) we can’t bring the good old days back. But we can still make maple candy. And somehow, when you make your own candy, it is a thousand times more delicious than any store bought variety they’re pushing at the corner deli.

All you need is some maple syrup and some snow (I scooped up a jarful during our most recent storm and saved it in the freezer) and you’re good to go.

We started with a small plateful of snow… say about 2 cups full… and a half cup of maple syrup which makes just enough little taffy drops for one hungry kid and her mom to satisfy their sweet teeth for the evening.

Heat the syrup till it’s boiling, and then turn the heat down a bit so it holds steady. Then you basically watch and wait. When the syrup gets all foamy looking (smallish uniform bubbles– see top right photo above) it’s ready to go. This doesn’t take long (maybe 5 minutes or so) and it happens quickly, so you really have to keep your eyes on the pan. Waiting too long (like we did the first time round) will leave you with a horrible black nearly solid mass to scrape off of your pan.

Take the syrup out to your plate of snow and pour it slowly over, in swirls, dots, or whatever suits your fancy… being careful not to overlap too much as you’ll melt the snow before it has a chance to do it’s job. The syrup hardens quickly and in a minute or so is ready to peel off the plate and enjoy.

Just like Laura Ingalls and her cousins.

There are other, more scientific methods for making this stuff that involve candy thermometers, but I prefer doing it by eye. It somehow feels more satisfying, plus you’ve got one less thing to wash in the end.

Monday, Monday– or when it’s cold outside, we also listen to music

Traditionally, this is a weekly post with a number of links to various other places in the rabbit hole where you can learn more about something I have briefly mentioned here. But today, in honor of YET ANOTHER DAY IN THE LOW TWENTIES (yes, I am shouting in type) I give you seven songs about the cold to help you while away the hours between now and the next time the thermostat creeps above freezing.

The first is a video which is too priceless not to watch, but the rest are simply meant to be listened to, perhaps whist sipping a cup of hot cider and staring out into the frigid world…


The original from the 1940 film Neptune’s Daughter featuring a young pre-Fantasy Island Ricardo Montalban.


In the cold cold night, by The White Stripes. From way back in the day when people were confused and thought that Jack and Meg were siblings.


She’s So Cold, by The Rolling Stones might not be about the outdoors exactly, but you get the idea…


Art and Paul sing to us about the Hazy Shades Of Winter. (That’s Simon and Garfunkel to the uninitiated…)


Doughnut for a Snowman by Guided By Voices. Because I basically love everything by this band.


Big Maceo’s Wintertime Blues (1945) because the blues and wintertime like to walk hand in hand.


Sure, Winter Wonderland is generally considered to be a Christmas song, and Christmas is over, but Johnny Mathis’ voice is as clear and sharp as a glittering icicle and not to be left out in the cold.

Another thing I really don’t need but totally want, regardless

Photo from the lovely A Detacher website.

Photo from the lovely A Detacher website.

The holidays are over. My bank account is depleted. Plus I’m sure I’m going to make some kind of decluttering, less-is-more style promise to myself when I finally get around to making my resolutions.

But were I in the market for a new handbag, I’m thinking this would be the one. And it’s at A Detacher, which is one of my favorite NYC stores/shrines– I always stop in to dream whenever I’m in the neighborhood– so there are probably all sorts of other wonderful things on the racks and shelves that I want too.

But right now, instead of shopping, I’m going to go out and scrape the snow off of my car.

Fun!

When it’s cold out, we dance

It is currently 11 degrees with a wind chill of 0.

During our walk to school this morning, we stayed warm by playing follow the leader and dancing our way through the streets.

And now I’m listening to jazz composer Jun Miyake’s Lillies Of The Valley and dancing along with the people in this video. I may not get a lot done today, but I’m going to be warm and happy, damn it.

Keeping it together

Homemade vitamin C pills!

Homemade vitamin C pills!

Well, we’re back from Hawaii. And if the 15 hour multiple airplane journey home wasn’t enough to do us in, perhaps the current blustery 24 degree day is.

But I refuse to fall, especially so early in the new year. I may be superstitious, but I feel like the way one begins a year affects the entire rest of the journey. So we need to get off on a good foot.

Nothing says fight-off-cold-and-flu season like some good old vitamin C, but this time, instead of heading out (into the cold!) to buy a bottle, I decided to make our own little chewable tablets. Or pills. Or little round-ish balls, as the case may be. I’m beginning to delve a bit deeper into the world of herbal remedies (my husband thinks I’m turning into some kind of hippie witch doctor) and have discovered some really great sources for helping to bolster our immune systems.

This recipe comes from Rosalie De La Foret at Learning Herbs.com, a veritable treasure trove of information for the layperson who is looking to reconnect with the kind of herbal wisdom our grandparents took for granted. These herbs are all whole foods, which are undisputedly the best source of nutrients for our bodies. They are also all known to be bursting with vitamin C, along with other minerals and antioxidants that we might find helpful this time of year. It’s super simple… you’re just mixing together 3 powdered herbs and then using a bit of honey to bind them together into little balls. It’s a perfect activity for kids (playdough anyone?) plus the little ones are much more motivated to try one if they helped to make it.

Here are the details:

Ingredients:

1 tablespoon rose hip powder
1 tablespoon amla powder
1 tablespoon acerola powder
Honey
Orange peel powder

Mix together the first 3 powders, making sure to break up any clumps.

Pour a bit of slightly warmed honey into the mix and keep adding more, little by little, till the powder just holds together. You don’t want it to be too moist or sticky.

Then shape the mixture into little pea shaped pills and roll them in the orange peel powder till they are completely coated. This helps to keep them from sticking together.

Keep them in an airtight container and they should last a very long time. I store mine in the fridge, which keeps the individual pills from sticking together. Then when I’m ready to eat one, I just hold it in my mouth for a couple of seconds and it softens up and becomes nice and chewy and surprisingly delicious.

For more detailed information about the individual herbs used, check out the original version of the recipe. Also, if you are wondering where one might happen upon some Rose Hips and Amla powder, you need look no further than Mountain Rose Herbals. They have pretty much everything.

Welcome to 2015!

Photo by fellow whale watcher Tim Kohsman.

Photo by fellow whale watcher Tim Kohsman.

I spent the last days of 2014 and the first of this new year on the island of Maui, with my husband, daughter, my husband’s parents, his sister, her husband and their two girls. Extended multi-generational vacations can be perilous, but this particular one was set in paradise, and we had the wisdom to spend a few hours on a boat with the naturalists of the Pacific Whale Foundation, experiencing first hand the wonder of the humpback whale.

I didn’t take the picture above, because I was too busy gasping for air and being blown away by just how incredibly huge and powerful and graceful and majestic these creatures are- this one breached about 10 feet away from our boat- but luckily a fellow passenger had the presence of mind to capture it on film (or disc as the case may be).

We also listened to their ethereal songs when a crew member lowered a mic into the sea (you can listen to some here) and felt suddenly like a very small and largely ignorant part of a large and mysterious world. Like we were somewhat-tolerated guests in somebody else’s home.

That feeling of wonder is part of what I am hoping to nurture as this year matures, because it is that openness that allows us all to really be a part of the world we live in and motivates us to find ways to make it a better place.

So here’s to keeping our eyes open, to checking out the uncharted territories, both in our backyards and on the other side of the globe, and to remembering what an incredible magical place we all get to inhabit.

Happy New Year everybody!