127 articles

5 easy pieces for jumping in lakes

Aaaah.... the good old days... pre bathing suit.

Aaaah…. the good old pre-bathing suit days…

When they are really little, kids just need a swim diaper and sunblock. But when they get bigger, bathing suits come into play, for better or worse. I am determined not to be caught by surprise this year (“What do you mean last year’s suit doesn’t still fit?”) so I’ve just done a round of swimwear research and I’m passing along a few of my favorites:

vintage suit sweet william

First off, I have always loved this vintage style bathing suit by Little Creative Factory. So much, in fact, that I am seriously considering buying it again. (My daughter had one when she was 3…)
$78 at Sweet William.

mara hofman for J Crew

I remember when designer Mara Hoffman was just starting out, making all sorts of amazing clothes by hand… now she’s big time, but she still makes great stuff and her kids suits are beyond.
$100 at J Crew

target bikini

I’ve never been one for little girls in skimpy suits, but this striped bikini at Target is the perfect solution when your kids starts insisting she NEEDS a two piece.
$11.99 at Target.

kid wet suit at sweet william

So you surf and you’re hoping your little one will get up on a board with you? Here’s the perfect mini wet suit style bather for the junior surfer in your lives.
$75 at Sweet William, again.

busy bees tank

Or maybe this year, it’s just about a classic solid tank in a great color…
$60 at busybeeskids.com

Suddenly, it’s summer…

DIY pops

Nothing says summertime like a triple flavored home made popsicle, right?

And then, overnight, the temperatures rose into the high 80′s (some say we hit 90 this week, but I refuse to believe it). Down jackets are a distant memory. The sprinklers have been turned on in the playgrounds. Summer is upon us.

In response, we are making our own popsicles again, this time with a little help from The Cookbook For Kids, by Lisa Atwood for William Sonoma. We changed the recipe to fit our personal tastes (and what was available at the market) and I’ve copied our take on the formal instructions below in the hopes that you will all become avid pop makers.

For those of you who want to dive deeper into the world of DIY pops, I wrote a comprehensive piece for Krrb that includes links to molds you might want to buy plus lots of recipe ideas.

Oh and if you are looking for a slightly more grown up version (read: frozen drinks on a stick) check out One Kings Lane’s brilliant post with 4 great recipes for the fruity-but-also-alcoholic pop. Oh and also there’s this Strawberry Greyhound poptail from Endless Simmer.

And, last but not least, check out these Blood Orange Pops from The Little Epicurean. Yum!!

Here’s our slightly altered 3 tier pop recipe:

Ingredients:

1/2 cup sugar
1 cup frozen strawberries
1 cup frozen blackberries
1 cup frozen mango
3/4 cup OJ

How to make it:

In a small pan, combine sugar and 1/3 cup water. Cook over high heat, stirring constantly until the sugar dissolves into a syrup. (2 – 3 minutes) To be honest, you can probably skip the whole simple syrup apart and still have insanely delicious treats. We will most likely do that next time, but I have given birth to someone who is a stickler for following directions line for line.

Next, rinse the strawberries with room temperature water. Set aside to thaw. Pour mango cubes into a blender. Add 1/4 cup OJ and 2 Tbs syrup (from step one) Purée until smooth. Divide the mango purée among 6 ice pop molds or 4 paper cups. (we used cups, because my daughter insisted that ours look JUST LIKE THE PICTURE in the book). Tap the bottom of the cups/molds on the countertop to settle the purée. Place in the freezer. After 1 hour, place a craft stick in the center of each cup/mold.

For the second layer, purée the blackberries, 1/4 cup OJ and 2 Tbs syrup until smooth. Pour over the mango purée in the cups/molds and return to the freezer.

Last but not least, blend the now pretty much melted strawberries with the rest of the OJ and syrup until smooth. Pour over the other layers and return to the freezer.

Freeze the layered pops until firm, 2 – 4 hours. To remove pops from molds, dip the bottoms into a bowl of hot water till they begin to loosen (or just peel off the paper cups.)

Enjoy!

Ernest & Celestine

I generally stay away from the “New Releases” section of the video rental sites, being firmly of the opinion that the “new” stuff is vastly inferior to the films from back in the day.

But sometimes I am very wrong.

As I was happy to discover when my family settled down to watch this Oscar nominated animated feature, about an unlikely friendship between a bear and a young mouse. Ernest and Celestine (from the people who brought us The Triplets of Belleville and The Secrets of Kells) has action, suspense, complicated and deep fear and resentment between different cultures (sound familiar?), humor, love and beautiful animation that harkens back to the good old days when people drew. With pens.

With a cast that includes Forrest Whitaker, Lauren Bacall, William H. Macy, Paul Giamatti and Jeffery Wright, the movie is as beautifully acted as it is drawn.

This film is one for the library, for sure.

For all future world travelers… and their mothers

Maps Activity Book by Aleksandra Mizielinska and Daniel Mizielinski

Maps Activity Book by Aleksandra Mizielinska and Daniel Mizielinski

To be honest, I really got this activity book for myself. I am just using my daughter as a vehicle through which I get to experience it. And I have all sorts of legitimate reasons for feeling this way.

First off, I love maps. All kinds of maps. I like to collect them, but am in the process of weeding out my excess clutter, so this is a way to have a whole bunch of lovingly hand drawn maps all neatly bound in a book that is educational. And for my kid. No hoarding here.

I am horrible at geography and am determined to learn about all kinds of basic things like the national flag of the Seychelles and the route of the Trans-Siberian Railroad. Not to mention the difference between a reef stonefish and a yellow tang. Oh and also the exact location of the Brandenburg Gate. I will know all of these things, and so much more, once we delve into the projects that lie within the covers of this book.

a map of the UK

A map of the United Kingdom. OK who knows which one in Scotland and which is Ireland?

Here’s what a typical page looks like… You’ve got a map (or a bunch of animals that live in a certain habitat, or people in various cultural costumes, etc) and then a directive. In this case, you get to imagine your own castles and put them all over the United Kingdom. Other pages ask you to draw animals that live in Australia, or draw the flags of various countries… it’s hours and hours of geographically creative fun.

And by the end, if I can easily draw you a typical musical instrument from India and a popular meal from Morocco, and can name all 50 of the United States and show you where The Parthenon is on a map, I’ll be in great shape. And so will my daughter (who will most likely retain far more of this than her mother, who also has to be in charge of bedtime and school lunch and other nonsense that crowds up her brain…)

Maps Activity Book by Aleksandra Mizielinska and Daniel Mizielinski, $14.99.

Another thing I really don’t need but totally want, regardless

Semo Nemo Meow skirt

On the one hand, my daughter has plenty of clothes to last her through the next six months or so (as long a she doesn’t have some kind of crazy growth spurt between now and next winter…) But on the other hand one can never have enough outfit changes for a kid who loves to both wear lovely dresses and roll around in the mud catching bugs and building secret hideouts.

Plus how am I supposed to resist the incredible cuteness of the Meow skirt by Semo Nemo? It’s the pet kitty that my poor daughter will never be able to have (we are all allergic…) Plus it spins out when you twirl around, which these days is a required trait in all skirts and dresses. And it’s not pink, which is something that I shouldn’t care about, but I do.

Win win win.

Even the herbs have fairies

The first three books in the Herb Fairies series tell about about chickweed, violet and plantain.

The first three books in the Herb Fairies series tell about about chickweed, violet and plantain.

I have sworn up and down that I will not become one of those parents who forces my kids (or kid, as the case may be) to like all of the same things I like and to do all of the things I like to do. I will be respectful of her taste. I will not immediately poo pooh Katie Perry. I swear.

And yet, can I help it if I’d rather she listen to Prince? Or Bill Withers? Or even Queen?

But I digress.

My not-so-secret strategy for steering her in a more palatable direction is to expose her to all sorts of things I like, but without judgement. And then whatever she goes for, we pursue. Or, if I can find some version that has a bit of a princess vibe (what princess isn’t looking for Prince, in some form or another?) or some fairies attached, I’m good to go.

To wit, the genius of the Herb Fairies. They are a series of books (you order them online and print them out at home) that each tell the story of a bunch of kids, hanging around outdoors having adventures with a particular fairy who belongs to a specific healing herb. There are 13 books in all, plus recipes, activities, pages to color, etc, which means that by the end of the series, your kids (and you) will have a basic working knowledge of a wide assortment of healing herbs. I am a huge fan of natural remedies and alternative medicine, so nothing makes me happier than hearing my daughter ask for chickweed to help heal a scraped knee. Well… almost nothing…

From the same people who created the collaborative board game Wildcraft, comes this whole universe of plants and herbs designed especially for kids to explore and learn from while spending time outdoors and having fun with the whole family. But it’s only available for a short time each year, and now is the moment. Go to Herbfairies.com, download the free cookbook and learn more about the whole series. You can also access the books in electronic form… much easier for those of you with tablets, but less fun.

I know this sounds kind of like an infomercial, but I am still constantly thanking the friend who initially turned me on to these stories and I would be remiss if I didn’t try to pay it forward, so to speak.

Chuck Dugan is AWOL, which is right where he belongs

Chuck Dugan Is AWOL is the one and olny novel by Eric Chase Anderson

Chuck Dugan Is AWOL is the one and only novel by Eric Chase Anderson

I like to tell my daughter that every kid has a super power. For one particular boy in her class, it’s math. For others, it’s soccer or gymnastics. Ada’s superpower is wrapped up in stories, on both the giving and receiving end. At the ripe old age of 7, she can tell a complex and coherent story that goes on for 20 minutes straight, and she will sit still for hours if the book we’re reading is interesting to her.

And when it comes to listening to stories, the more complex the tale, with multiple twists and turns and unexpected digressions, the better. Which is why Eric Chase Anderson’s Chuck Dugan Is AWOL was a perfect choice to read aloud, even though it is ostensibly for teenagers and above. The book has everything you need– a coerced marriage, evil admirals, pirates, bicycles riding off rooftops, disguises, whales, hotel lobbies, maps and lost treasure. Plus brilliant illustrations in the form of intricately labeled diagrams and maps that look like something straight out of a Wes Anderson film.

chuck dugan is awol by eric chase anderson

A map of the Dugan family boathouse in Maine.

Which makes perfect sense because this book was written by the eccentric director’s brother (Eric Anderson/Wes Anderson… get it..?) Clearly the Anderson family is not lacking in the imagination dept.

chuck dugan is awol by eric chase anderson

A buoy/hideout in the middle of the bay.

The only downside is that the novel does, eventually, come to a close. My distraught daughter had me scouring the internet in search of a sequel that has yet to be written. It took her a week to recover from this unhappy turn of events, which is understandable in this age of 7 Harry Potters, 51 Magic Treehouse books and 6, oh-no-wait 7, Star Wars movies. Though to be honest, the stand alone-ness of this story makes it all the more worthwhile.

Not one to take things lying down, my daughter is in the process of pleading with Mr Anderson, in letter form, to write another installment.

I’ll keep you posted.

Make your own tinted lip balm!

DIY lip balm with crayon and coconut oil

Tinted lip balm, handcrafted in about 10 minutes.

What’s not to love?

  • Pick a color from one of the millions of semi used crayons you have lying around (if you have kids, that is).
  • Peel off the paper.
  • Break the crayon in half and put it in a small container (a ceramic ramekin or a metal measuring cup… just something small and non reactive)
  • Add a heaping teaspoon of coconut oil. (for stronger color, use a bit less oil)
  • You can even toss is a bit of shea butter if you have some lying around.
  • Then heat some water in a small skillet.
  • Once the water is hot, place the bowl (with the crayon and oil) in the water, turn off the heat and wait for the crayon and oil to melt.
  • Mix them up till the color is evenly distributed
  • Pour into a small metal or plastic container.
  • Let it cool down.
  • Use your new lipstick!
  • We used a heart shaped tin from Etsy, but you can use small tin or glass jars, or you can really go for it with lipstick molds and containers.

    Non-toxic, like the crayons. Beneficial, like the coconut oil and the shea butter. Beautiful, like good make up should be. A perfect rainy (or snowy) afternoon activity.

    A post about cooking in which I complain about my latest mothering chore of packing lunch for my child

    pot stickers

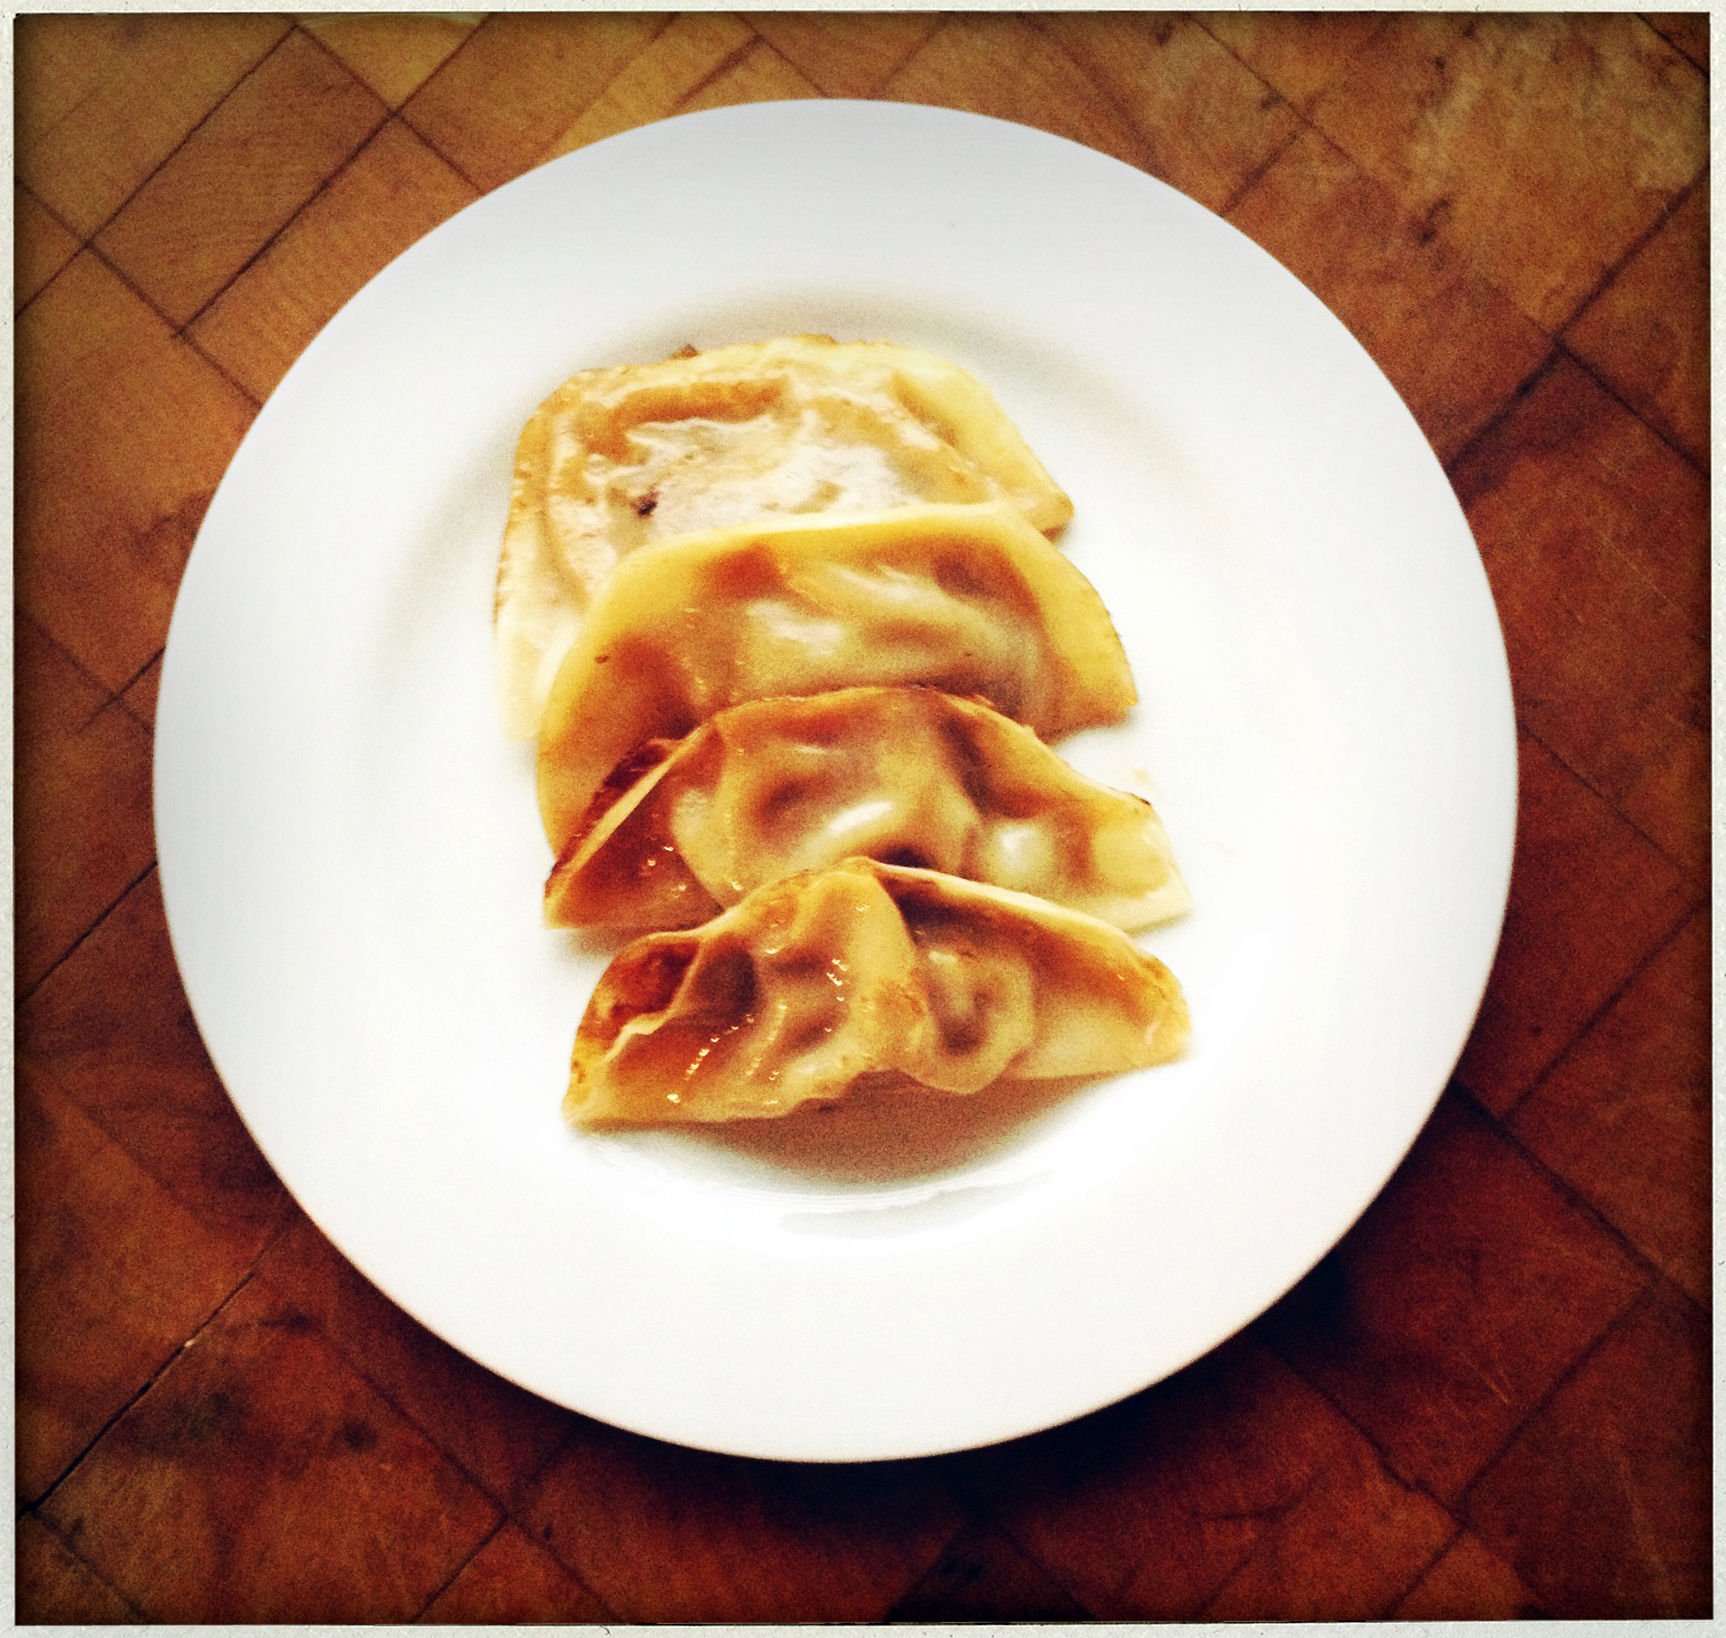
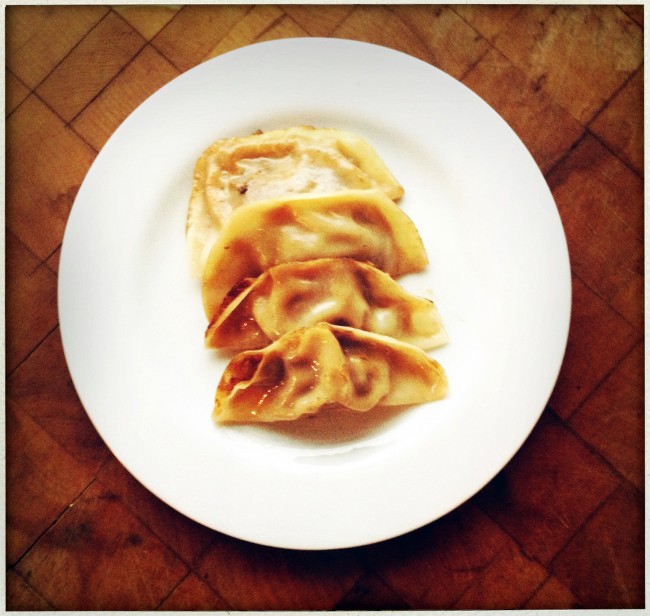
    Here they are… our first batch of dumplings. Pot stickers, to be specific, but who is really that specific when dealing with second graders’ lunches?

    The party’s over.

    Or at least the my-kid’s-school-has-a-lunch-program-so-I-don’t-have-to-deal-with-packing-a-daily-lunchbox party is over. She just wasn’t eating the food, and I was forced to admit that a rice cake and some juice that she was given as a substitute does not a nutritious meal make. If I want to help that little brain to grow, I’m going to have to suck it up and make her lunch. Every day.

    What a nightmare.

    Or at least, at first it seemed like a nightmare. But once I realized that she can heat up her food (do I have the only child on earth that doesn’t really like sandwiches?) I decided to take this as an opportunity, rather than just a burden. At the very least I finally have something to do with all of the slightly less than full portion leftovers I have from dinners past.

    But sometimes there aren’t any leftovers. For those days, if you’ve planned ahead (a new skill I am developing in spades in 2015) there are dumplings. Which you have made in bulk with your kid (fun activity!) and stored in the freezer in single serving size packs for just such a moment.

    Here’s the scenario. You put your little angel to bed, you then open the fridge to see what you’re going to cobble together for lunch the next day. Nothing appropriate. It’s freezing outside, so running to the deli is not an attractive option. You then remember the dumplings in the freezer. You jump for joy (but only internally… on the exterior you remain all calm like “of course this what was I was planning all along”) and take one of your little pot sticker packets out of the freezer and stick it in the fridge. Cook ‘em up the next morning (which takes all of 5 minutes) and you’re good to go.

    And lest you think that there is no way you could possibly manage to create something so exotic and complex, let me be the one to inform you that the most difficult part of this operation is finding the dumpling wrappers (which these days can be found in any grocery store with an Asian section.) And that isn’t all that hard, is it?

    We used Mark Bittman’s super simple recipe 10 days ago and had a blast making 48 little suckers. We still have one or two lunches left in the freezer too! Here’s how we did it:

    First we get the ground pork (but you can use any kind of ground meat, or even make a veggie version with cabbage, shiitake mushrooms and carrots) mix it with cabbage, scallions, ginger, garlic and a bit of soy sauce.

    making pot stickers

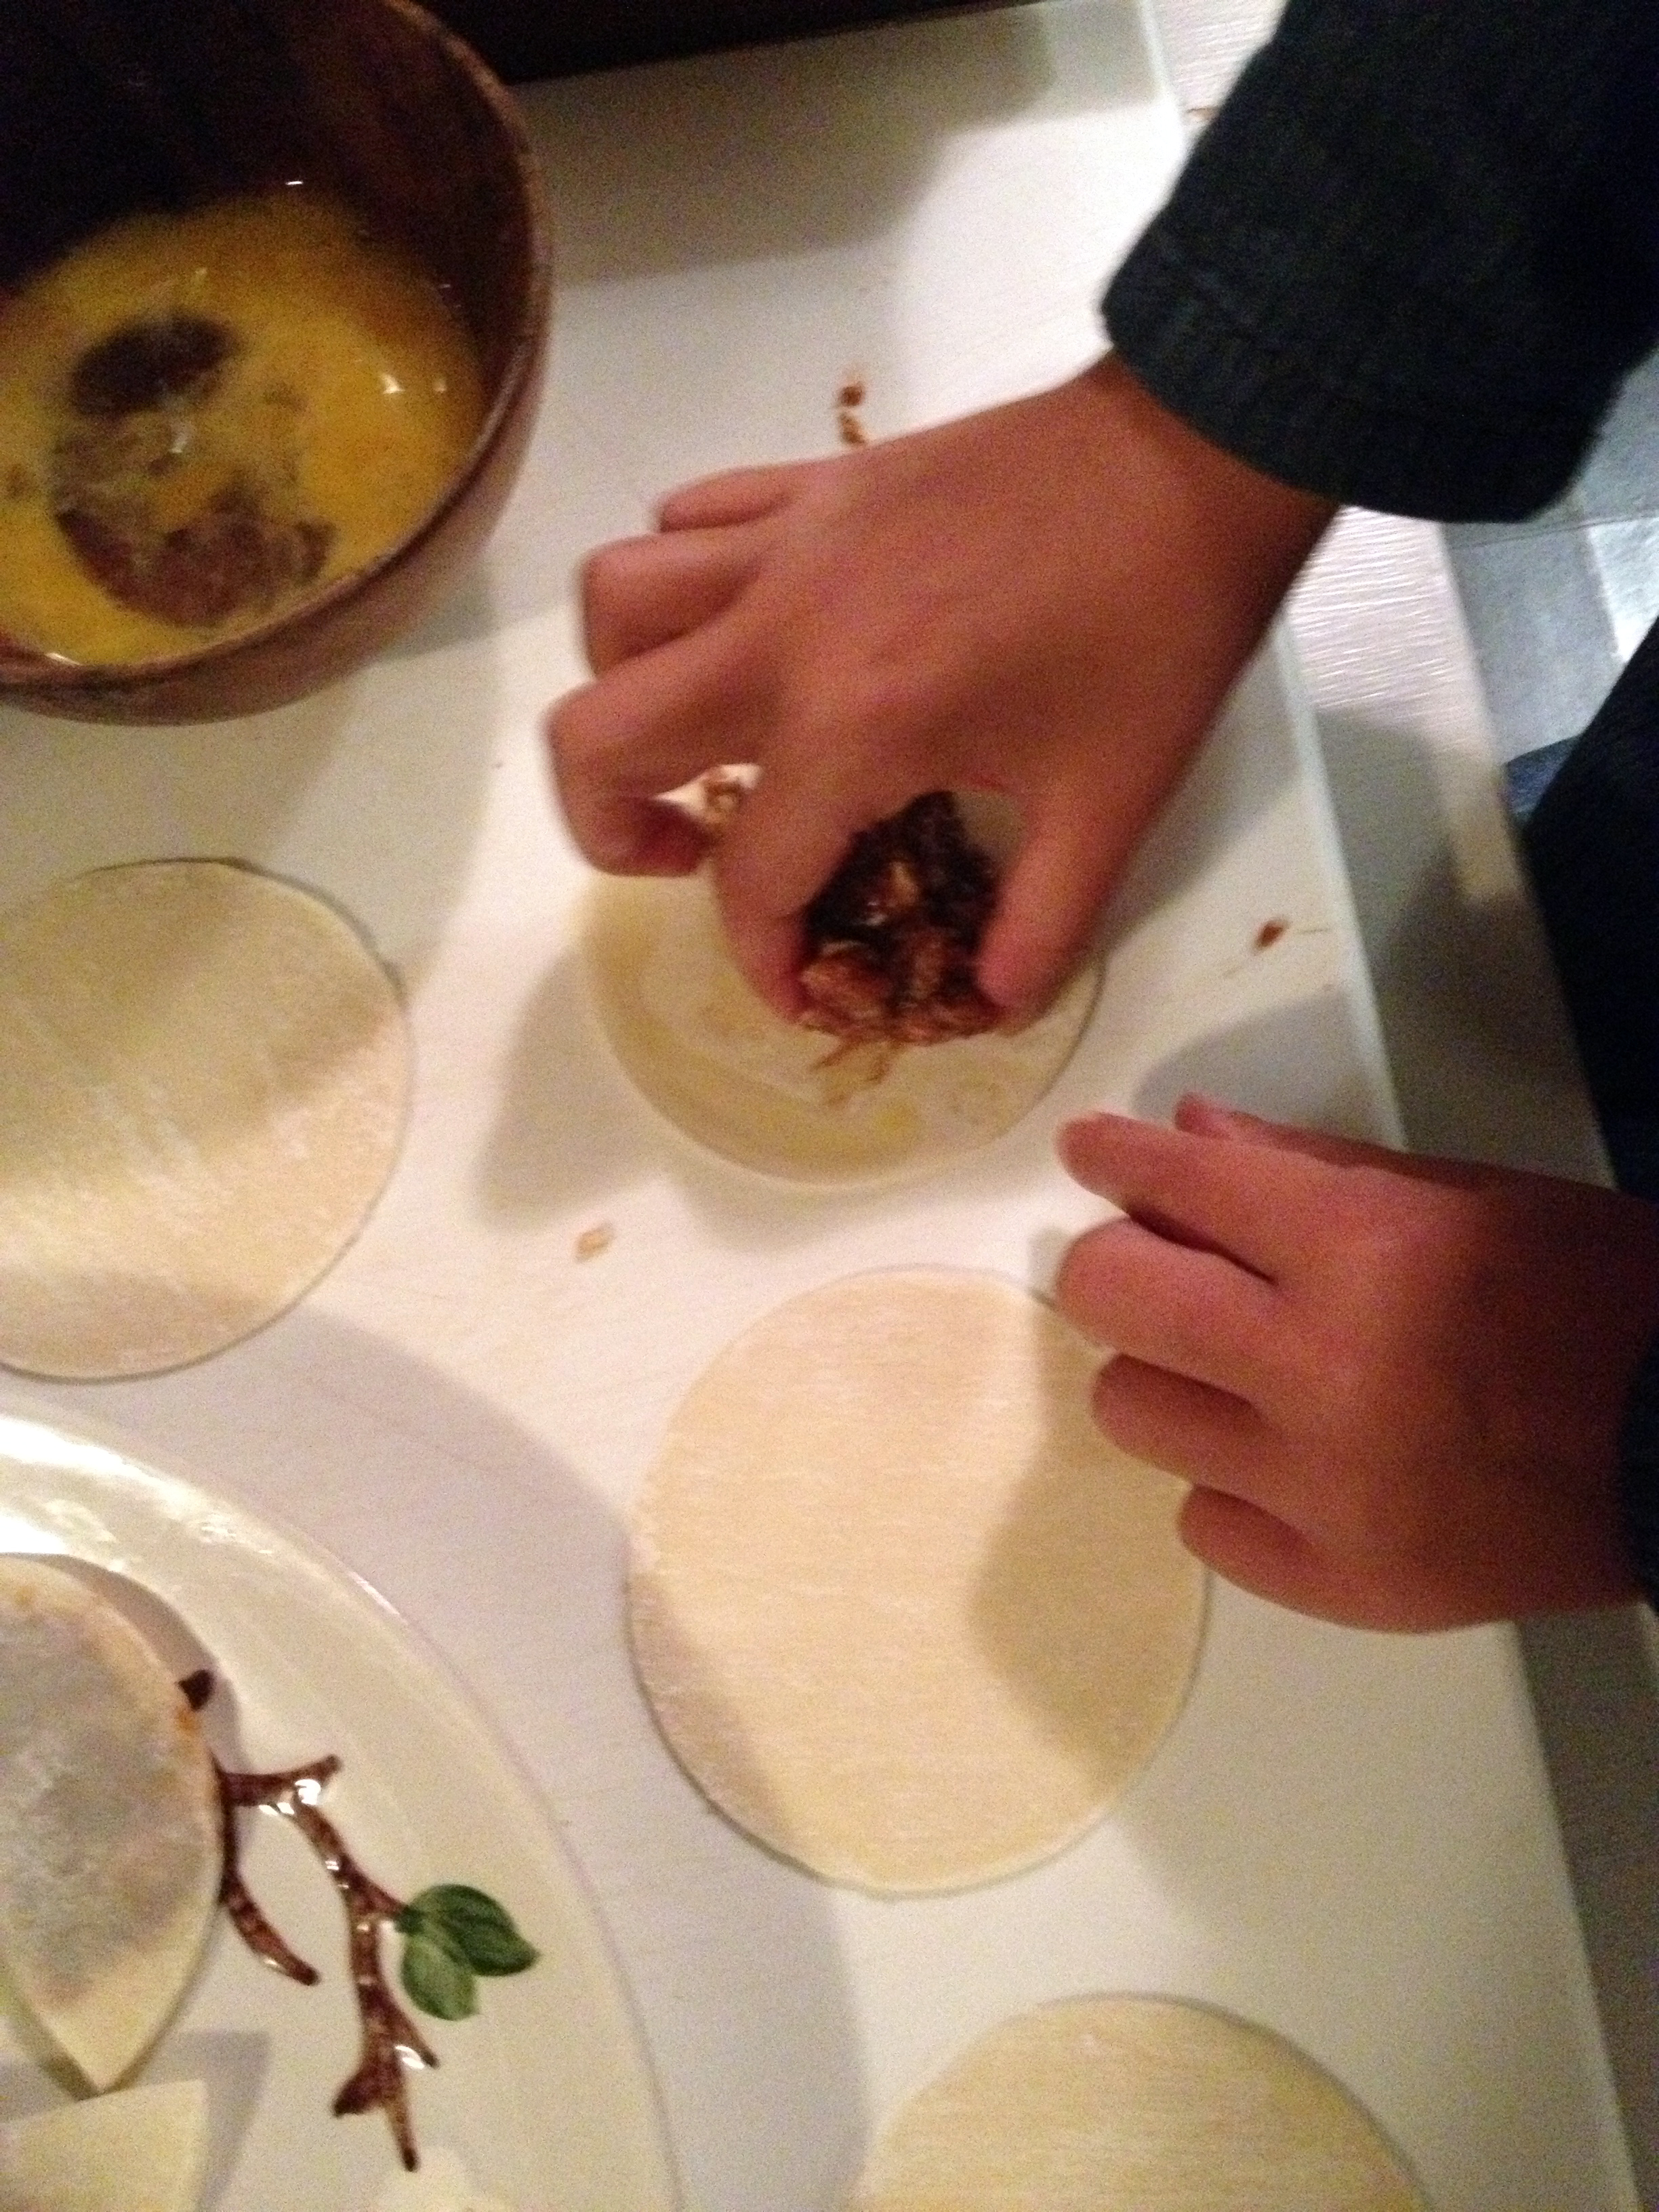
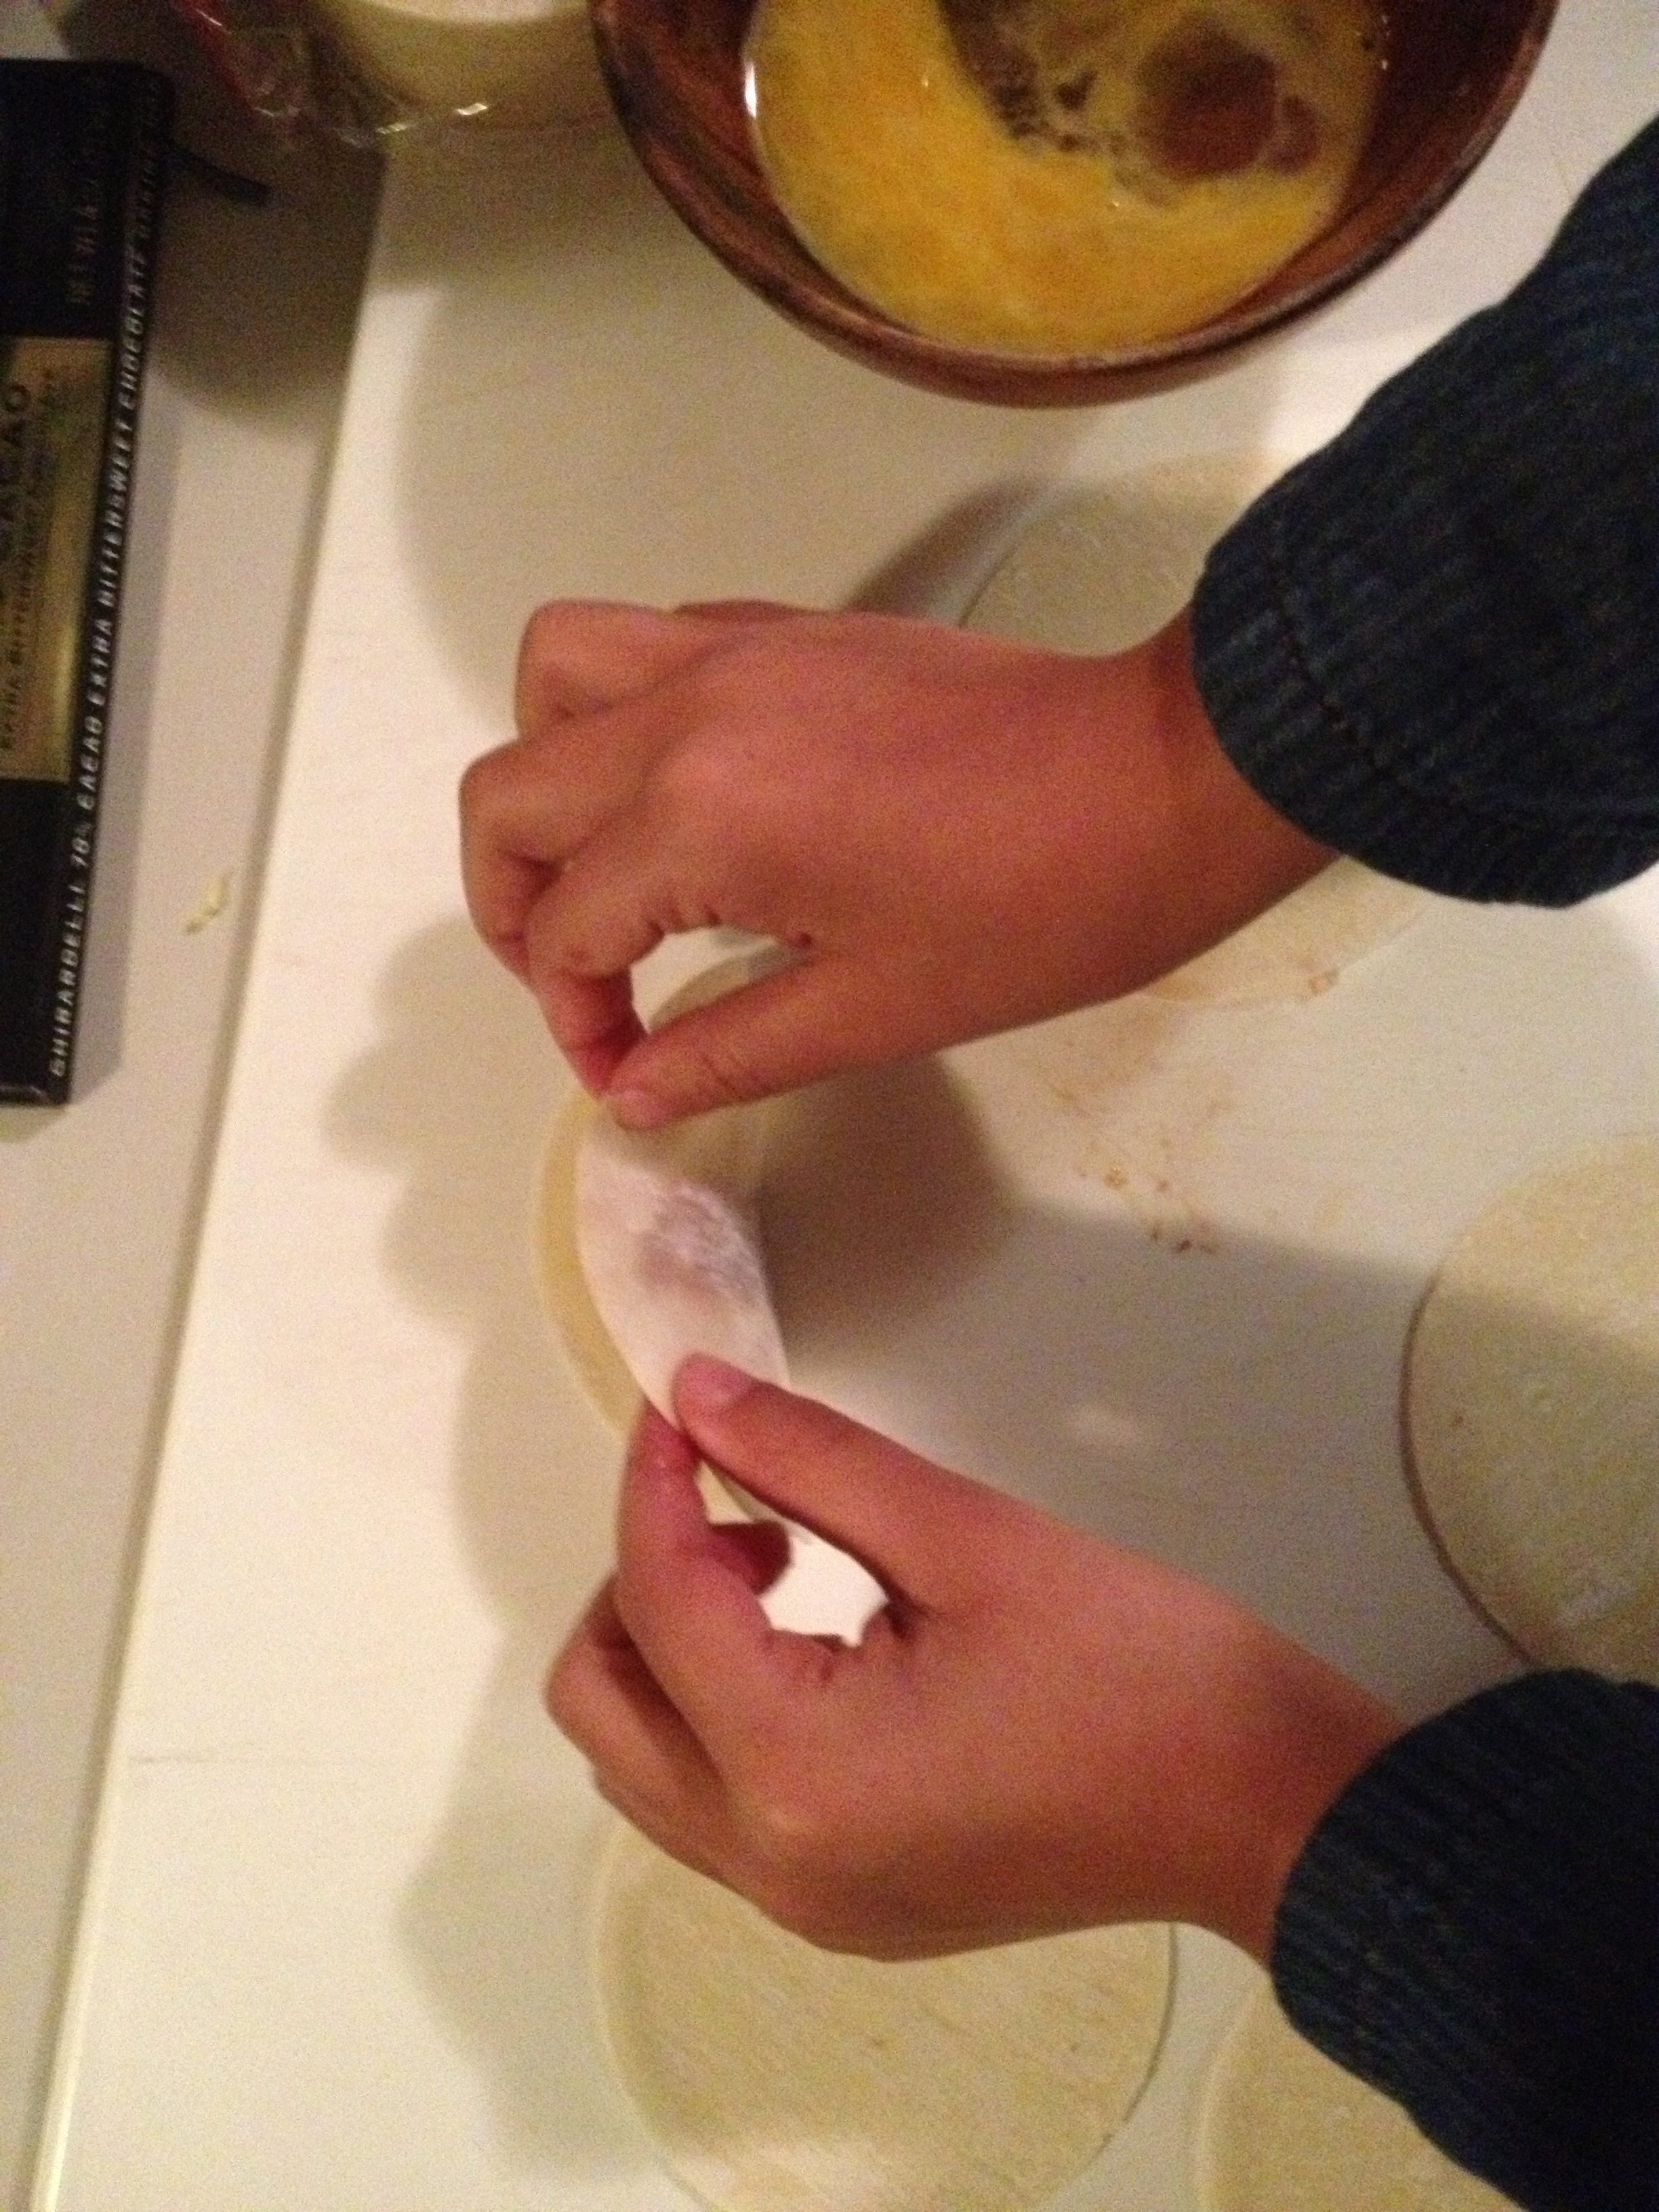
    Then we place a spoonful onto the dumpling wrapper.

    making pot stickers

    After we rub a tiny bit of beaten egg around the edges to act as glue, we carefully fold them in half, pressing the edges together…

    cooking pot stickers

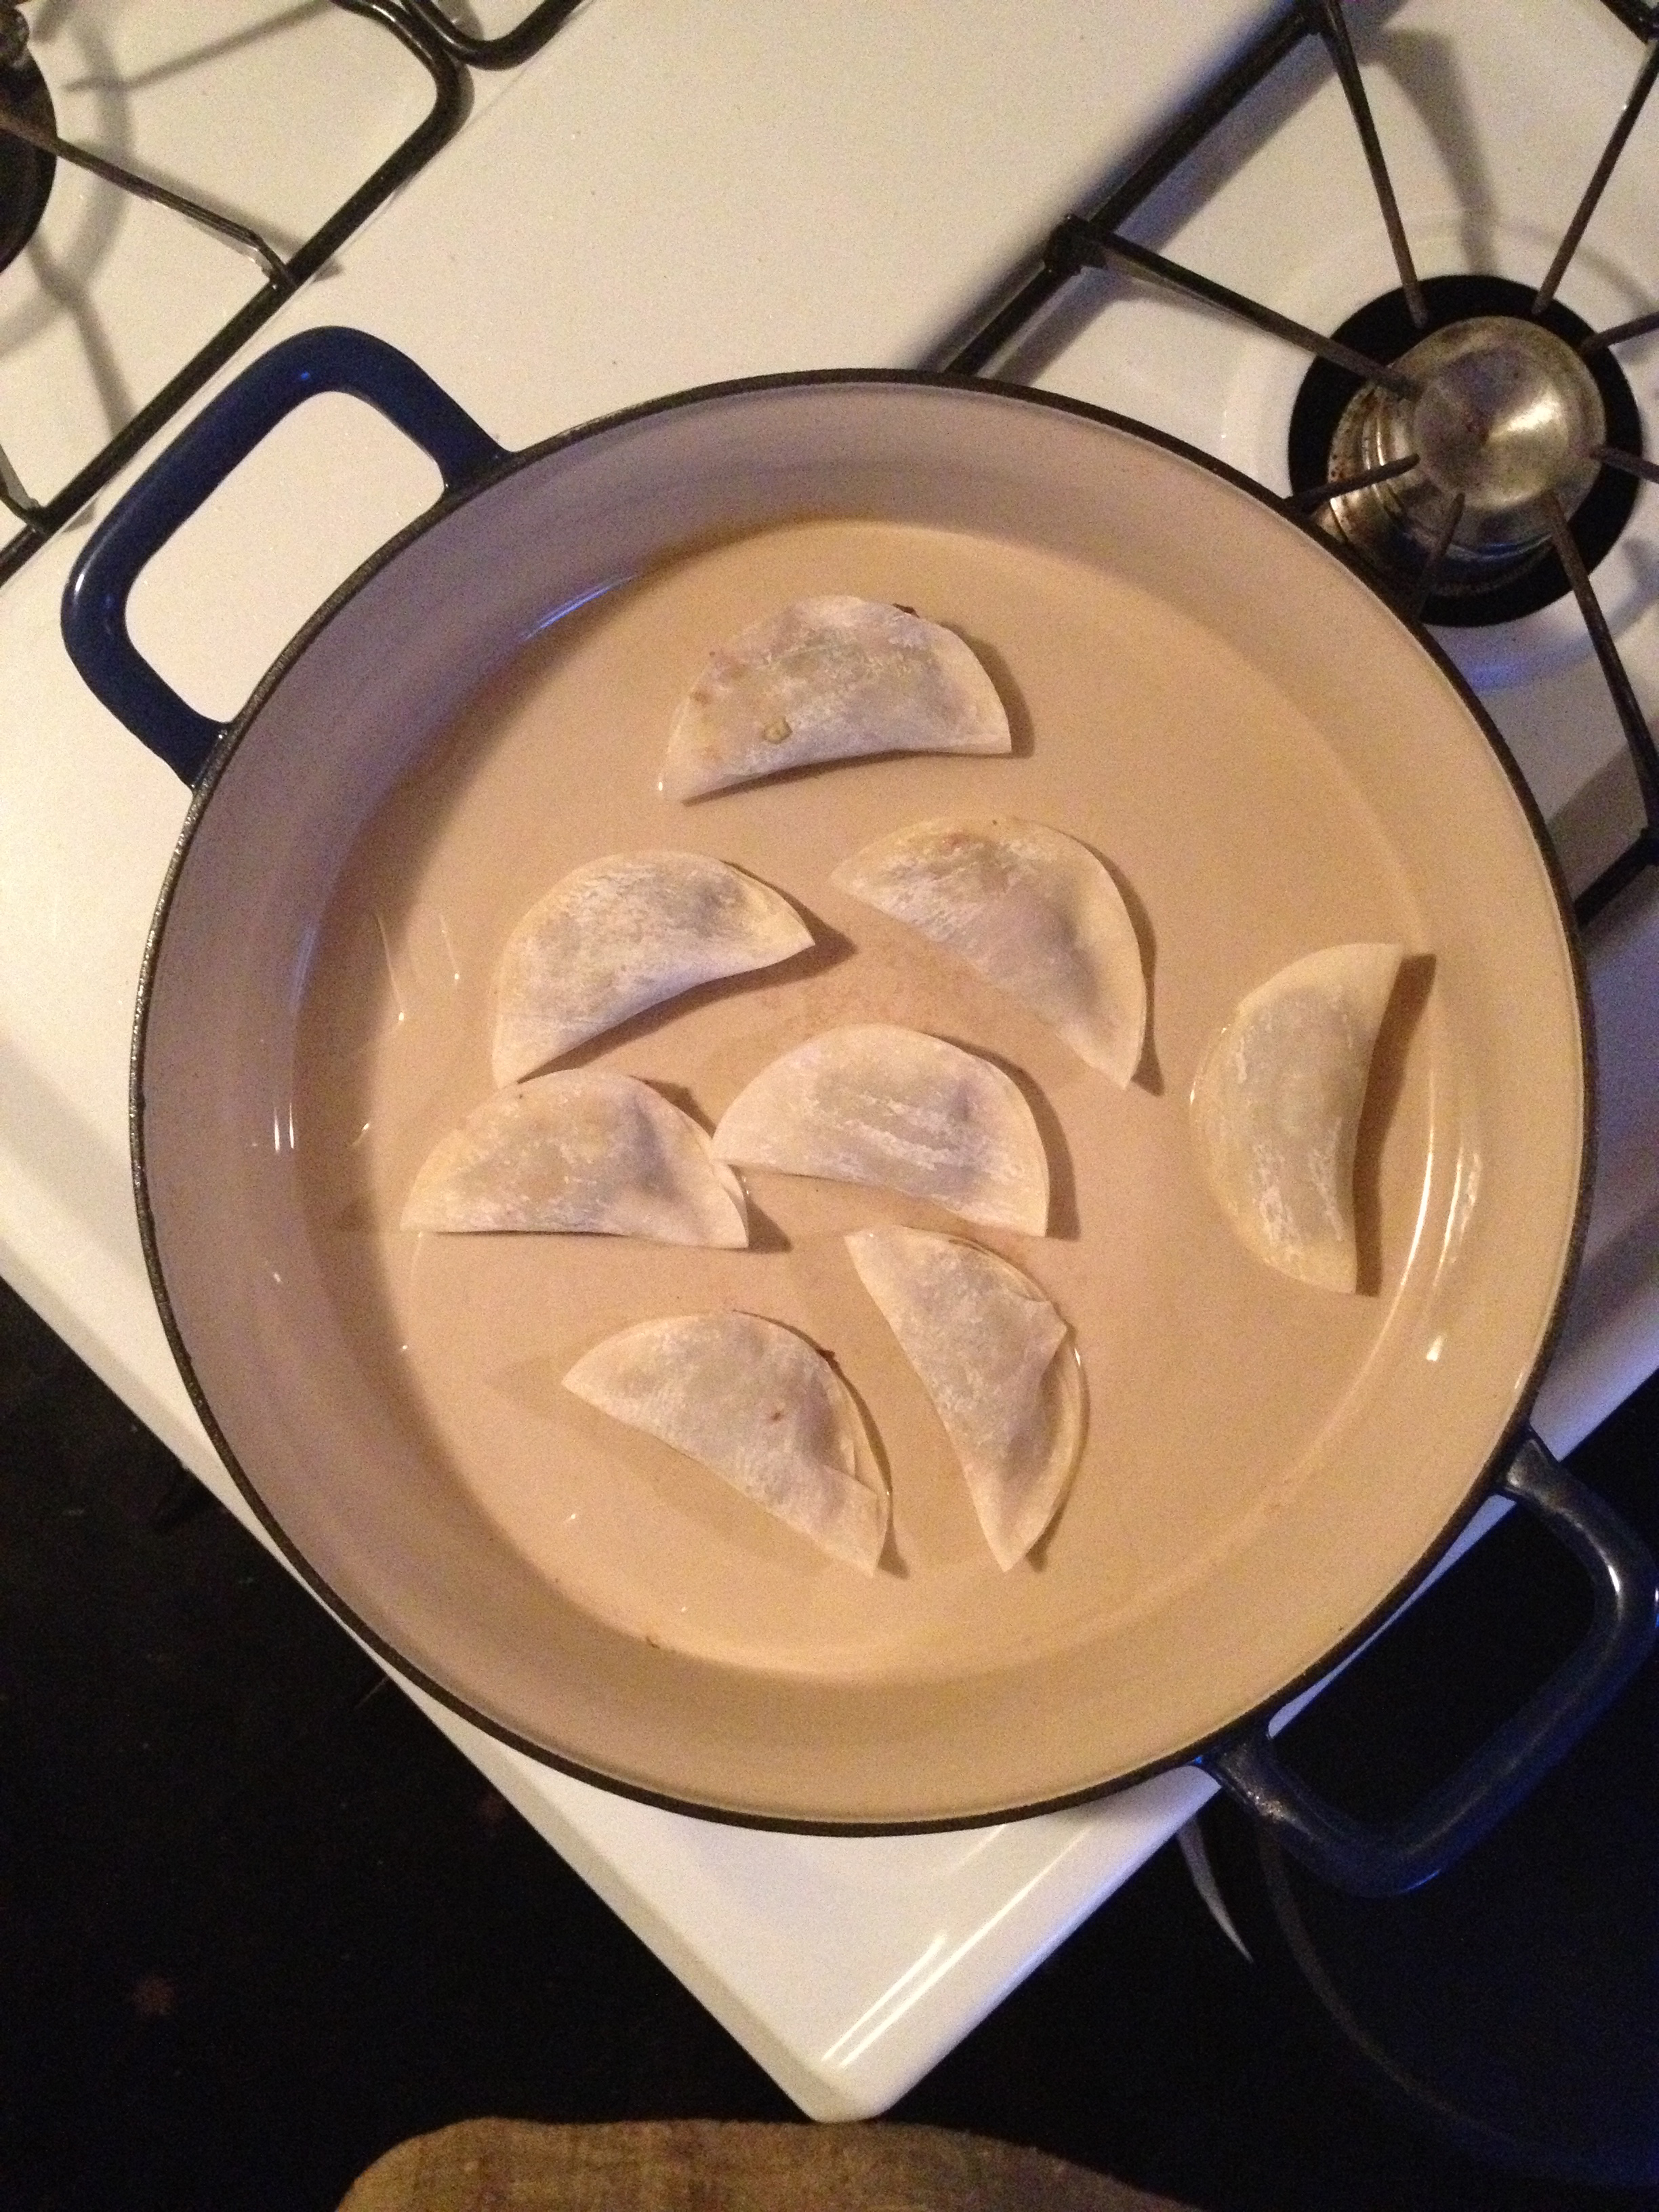
    And then they are ready to cook! The cooking is a 3 step process, but super quick. See the esteemed Mr Bittman’s recipe below for the exact methodology and then hop to it!

    Ingredients

    ¾ pound ground pork or other meat
    1 cup minced cabbage
    2 tablespoons minced ginger
    1 tablespoons minced garlic
    6 scallions, the white and green parts separated, both minced
    ½ cup plus 2 tablespoons good soy sauce
    48 dumpling wrappers
    1 egg, lightly beaten in a bowl
    4 tablespoons peanut oil or vegetable oil, more or less
    ¼ cup rice vinegar or white vinegar

    Preparation

    Combine meat, cabbage, ginger, garlic, scallion whites and 2 tablespoons soy sauce in a bowl with 1/4 cup water. Lay a wrapper on a clean, dry surface, and using your finger or a brush, spread a bit of egg along half of its circumference. Place a rounded teaspoon of filling in center, fold over and seal by pinching edges together. (Do not overfill.) Place dumplings on a plate; if you want to wait a few hours before cooking, cover plate with plastic wrap and refrigerate. Or freeze, for up to two weeks.

    To cook, put about 2 tablespoons oil in a large nonstick skillet and turn heat to medium-high. A minute later, add dumplings, one at a time; they can touch one another, but should still sit flat in one layer. Cook about 2 minutes, or until bottoms are lightly browned. Add 1/4 cup water per dozen dumplings to pan, and cover. Lower heat to medium, and let simmer about 3 minutes.

    To make the dipping sauce, combine remaining soy sauce, green parts of scallions and vinegar.

    Uncover dumplings, return heat to medium-high and cook another minute or two, until bottoms are dark brown and crisp and water evaporates. (Use more oil if necessary.) Serve hot, with sauce.